Introduction
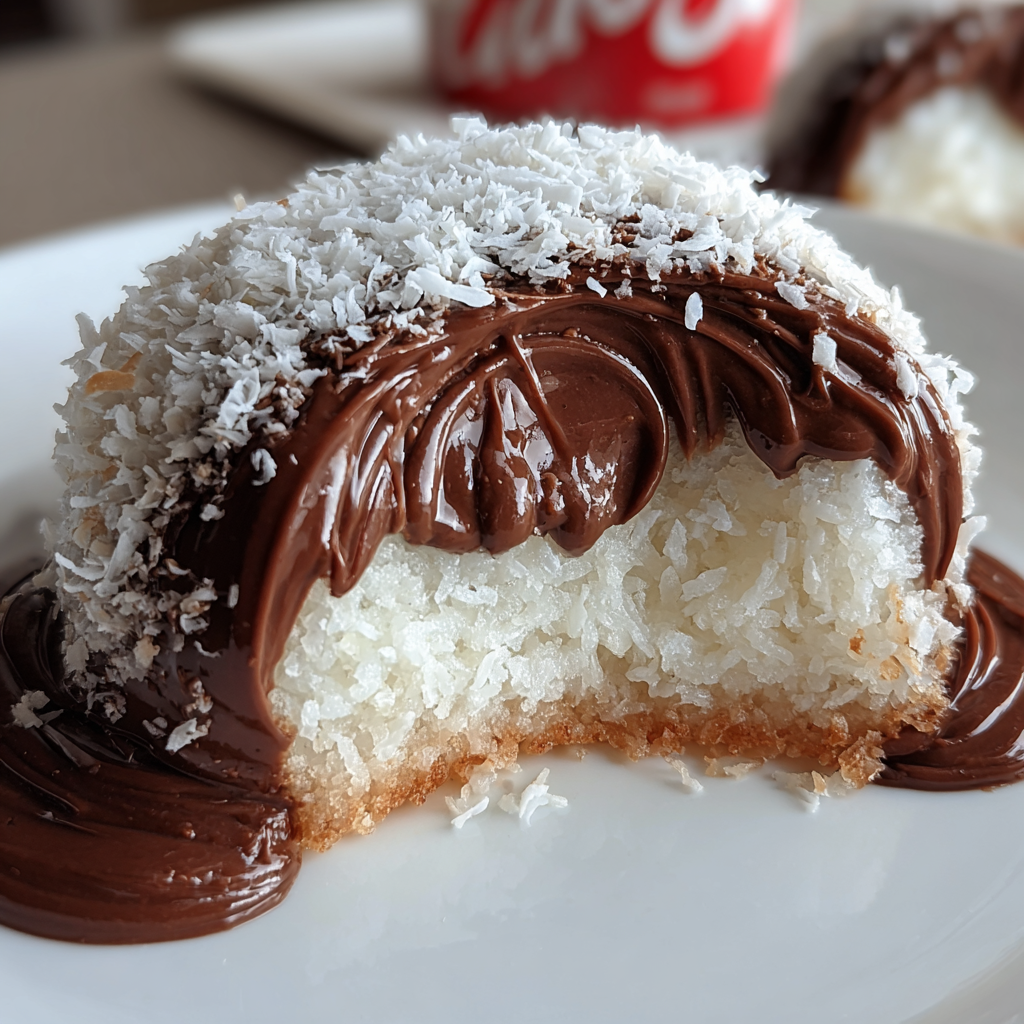
Coconut Dome with Chocolate Spread is a delightful dessert that embodies the perfect balance of tropical flavors and rich sweetness. This treat is not only visually appealing but also incredibly satisfying for those with a sweet tooth. Imagine slicing through a soft, coconut-infused dome to reveal a luscious chocolate center that can transport you to a tropical paradise.
This dessert is perfect for gatherings, celebrations, or simply as a luscious treat for yourself. Its unique texture from the coconut and the creamy chocolate spread creates an indulgent experience with every bite. Notably, the combination of coconut and chocolate has become a beloved classic, making this dessert a surefire hit.
Ingredients
- 1 cup shredded coconut
Shredded coconut adds texture and a tropical flavor that is essential for the dome's identity. It also enhances the overall moisture of the dessert. - 1 cup almond flour
Almond flour serves as a gluten-free base, providing a nutty flavor and fine texture that complements the coconut while keeping the dome light and airy. - 1/2 cup maple syrup
Maple syrup acts as a natural sweetener, introducing a caramel-like sweetness that pairs beautifully with coconut and chocolate. It also helps in binding the ingredients together. - 1/2 teaspoon vanilla extract
Vanilla extract adds a hint of warmth and depth to the flavor profile, enhancing the overall sweetness of the chocolate and coconut. - 1/2 teaspoon baking powder
Baking powder ensures the dome rises slightly, giving it a light and fluffy texture. This is essential for achieving the desired dome shape. - 1 cup chocolate spread
Chocolate spread is the star filling of this dessert. Its creamy texture and rich flavor provide a decadent contrast to the coconut outer layer. - 1/4 cup coconut oil, melted
Melted coconut oil helps bind the ingredients together and gives the dome a delightful coconut fragrance. It also contributes to the overall moistness of the dessert.
Directions & Preparation
Step 1: Preheat the oven to 350°F (175°C).
Preheating the oven is crucial as it ensures that the dome bakes evenly. When you place your mixture in a hot oven, it helps create an ideal environment for the baking powder to activate, giving your dome structure and height from the very start.
Step 2: In a mixing bowl, combine shredded coconut and almond flour.
Mixing the shredded coconut with almond flour provides the base texture of your dome. Make sure they are evenly distributed to create a consistent texture throughout the dome. This blend is what gives the dome its unique flavor and appearance once baked.
Step 3: Add maple syrup, vanilla extract, baking powder, and coconut oil to the dry ingredients.
Incorporating the wet ingredients with the dry mix is important for hydration and flavor development. Maple syrup and coconut oil will meld with the coconut and almond flour, giving your mixture a sticky yet cohesive consistency that is essential for forming the dome.
Step 4: Stir the mixture until well combined.
Stirring ensures that all ingredients are evenly mixed, which is key for uniform baking. You want to eliminate dry spots and create a batter that can hold together while baking. Take care not to overmix, as this can affect the texture.
Step 5: Grease a dome-shaped mold and pour half the mixture into it.
Greasing the mold is necessary to prevent the dome from sticking when it bakes and is removed. Pouring in half the mixture sets the base layer, which will later encase the chocolate spread, creating a delightful surprise in the center.
Step 6: Add a layer of chocolate spread in the center.
Adding the chocolate spread is the moment that transforms this dessert into a showstopper. A generous layer in the center infuses the dome with rich chocolatey goodness, adding a lovely contrast to the coconut flavors. Ensure it’s centered for even coverage.
Step 7: Top with the remaining mixture and smooth out.
Covering the chocolate spread with the remaining mixture seals the dome and ensures that the filling won’t leak out while baking. Smoothing the top protects the chocolate inside, ensuring a clean and appealing appearance after baking.
Step 8: Bake for 25-30 minutes or until golden brown.
Baking time is crucial; this period allows the dome to rise and develop a golden exterior. Keep an eye on it towards the end to avoid overbaking as that can lead to a dry texture. The dome is ready when it's firm to the touch and golden on top.
Step 9: Let the dome cool before unmolding.
Cooling the dome is important to help it set properly, which makes unmolding easier. If you attempt to remove it while still warm, the dome might fall apart. Allow at least 15 minutes for it to cool in the mold.
Step 10: Carefully unmold and serve.
Careful unmolding is the last step to ensure your beautiful dome maintains its shape. Place it on a serving plate and you can dust it with extra coconut or drizzle additional chocolate on top for an elegant presentation.

Transforming Your Dome Experience
One way to elevate your Coconut Dome is by incorporating additional flavors. Experimenting with extracts, such as almond or coconut, can enhance taste complexity. You might also consider adding chopped nuts or dried fruits within the filling to introduce delightful texture and unexpected flavors in every bite.
Serving Ideas for the Perfect Presentation
When it comes to serving your Coconut Dome, presentation is key. Consider sitting it atop a bed of fresh fruit, like berries, that can counterbalance the sweetness. For extra indulgence, a drizzle of warm chocolate sauce and a sprinkle of toasted coconut flakes can transform your dome into an elegant centerpiece.
Why Temperature Matters
Temperature plays a crucial role in crafting the perfect Coconut Dome. Ensuring your ingredients, especially coconut oil and chocolate spread, are at room temperature can affect mixing and melding. This factor ties into achieving that balance of flavors, as it allows easier incorporation without firm clumps in the batter.
FAQs
What can I do if my coconut dome is too dense?
If your coconut dome turns out too dense, it may be due to overmixing the batter or too much almond flour. Try incorporating a bit more baking powder next time for a lighter texture.
Can I use a different kind of sweetener instead of maple syrup?
Yes, you can use agave syrup or honey as alternatives. Just ensure to adjust the quantity slightly based on sweetness levels to maintain the flavor balance.
What if my dome doesn’t hold its shape after baking?
If your dome collapses, it’s likely due to underbaking or insufficient cooling. Ensure that it is fully baked and allow it to cool adequately before unmolding to maintain its shape.
Can I amp up the coconut flavor in my dome?
Absolutely. You can incorporate coconut extract into your mixture for a more pronounced coconut flavor, or use toasted coconut flakes for added depth.
What should I do if the chocolate spread leaks out of my dome?
If this happens, it might be due to not sealing the top layer properly. Ensure you spread the top layer evenly over the filling and gently press it down to avoid leaks.
How much time can I save by making the dome in advance?
You can prepare the mixture and mold it a day ahead; simply bake when ready to serve. This saves time and allows the flavors to meld.
Conclusion
Creating a Coconut Dome with Chocolate Spread is not only an enjoyable baking project but also yields a stunning result that is sure to impress. The flavors of coconut and chocolate blend harmoniously, making it a standout dessert for any occasion. Plus, the childlike joy of slicing into the dome to reveal its chocolate core is a moment worth celebrating.
With practice, you can perfect your technique and customize the dome to your liking. Each bite offers a tropical escape, paired with the satisfying richness of chocolate. Treat yourself and your loved ones to this delightful dessert and watch it disappear faster than you can say ‘coconut’!
Recipe Card
Notes
Additional serving suggestions: pair with a crisp salad, garlic bread, or roasted seasonal vegetables for balance.
For make-ahead, prep components separately and assemble just before heating to preserve texture.
Taste and adjust with acid (lemon/vinegar) and salt right at the end to wake up flavors.