Introduction
There’s something truly magical about chocolate fudge. Its rich, velvety texture combined with deep chocolate flavor makes it a favorite treat for any occasion. This homemade indulgence often evokes memories of cozy kitchens and the joy of sharing sweet moments with loved ones.
Creating chocolate fudge at home doesn’t require fancy gadgets or intricate techniques. With just a few quality ingredients and a bit of patience, you can whip up a batch that rivals any store-bought option. Let's dive into the delightful world of chocolate fudge!
Ingredients
- 1 cup granulated sugar
The primary sweetener in chocolate fudge, granulated sugar not only adds sweetness but also plays a crucial role in achieving the smooth consistency. It helps create the perfect structure through crystallization during cooling. - 1/2 cup unsweetened cocoa powder
Cocoa powder contributes the rich chocolate flavor that makes fudge irresistible. Opt for high-quality cocoa powder to ensure a deep, satisfying taste and color, enhancing the overall indulgence of the fudge. - 1/2 cup evaporated milk
Evaporated milk adds creaminess without the excess water that can lead to a grainy texture. Its concentrated flavor helps achieve a luscious mouthfeel, making the fudge wonderfully rich. - 1/4 cup unsalted butter
Butter not only enriches the flavor of the fudge but also contributes to its silky texture. Using unsalted butter allows for better control of the overall sweetness and saltiness of the treat. - 1 teaspoon vanilla extract
Vanilla extract enhances the complex flavors of the fudge. It adds an aromatic note that balances the richness of chocolate, making each bite even more delightful. - 1/2 cup chopped nuts (optional)
Adding nuts can bring a wonderful crunch to the smooth fudge and introduce complementary flavors. Whether you choose walnuts, pecans, or almonds, they can elevate the texture and taste of the treat.
Directions & Preparation
Step 1: Prepare the Baking Dish
Begin by greasing an 8×8-inch square baking dish with butter or lining it with parchment paper. This step is important as it ensures that the fudge will come out smoothly once set. The parchment also makes cleanup easier, allowing you to lift out the fudge with ease.
Step 2: Combine Sugar and Cocoa
In a medium saucepan, mix together the granulated sugar and unsweetened cocoa powder. This dry mix is where the foundation of your flavor begins. Stirring these together allows for even distribution of cocoa, which is essential for ensuring that every part of the fudge is perfectly chocolatey.
Step 3: Add Milk and Butter
Pour in the evaporated milk and add the unsalted butter to the saucepan. Cook this mixture over medium heat, stirring constantly. The gentle heat helps dissolve the sugar and butter, creating a smooth base that prevents graininess, which can occur without constant stirring.
Step 4: Bring to a Boil
Allow the mixture to reach a gentle boil while continuing to stir. This step is crucial as it activates the sugar and helps it dissolve completely. Boiling for about 2-3 minutes will ensure that you achieve the right consistency, with the fudge thickening gradually.
Step 5: Remove from Heat and Add Vanilla
Once the fudge has boiled, remove it from the heat source and stir in the vanilla extract. This brings out the rich flavors and adds aroma to your fudge. It's important not to skip this step because the heat can diminish the flavor of the vanilla if it's added too early.
Step 6: Stir Until Smooth
Give the mixture a good stir until it’s silky and smooth. This step ensures that all ingredients are fully incorporated. If you notice any lumps, continue mixing until the fudge base is homogenous. A smooth texture is key for the final product as it enhances the eating experience.
Step 7: Pour into the Prepared Dish
Carefully pour the fudge mixture into your prepared baking dish, using a spatula to scrape it all out. This is where your fudge takes shape. Pouring it into an even layer ensures equal setting and helps it cool uniformly, which is essential for achieving the perfect texture.
Step 8: Cool and Set
Allow the fudge to cool at room temperature for about 2 hours before cutting it into squares. Cooling is critical because it allows the fudge to firm up, creating a solid texture that holds together beautifully when cut. Avoid rushing this step; patience is key!
Step 9: Serve and Enjoy
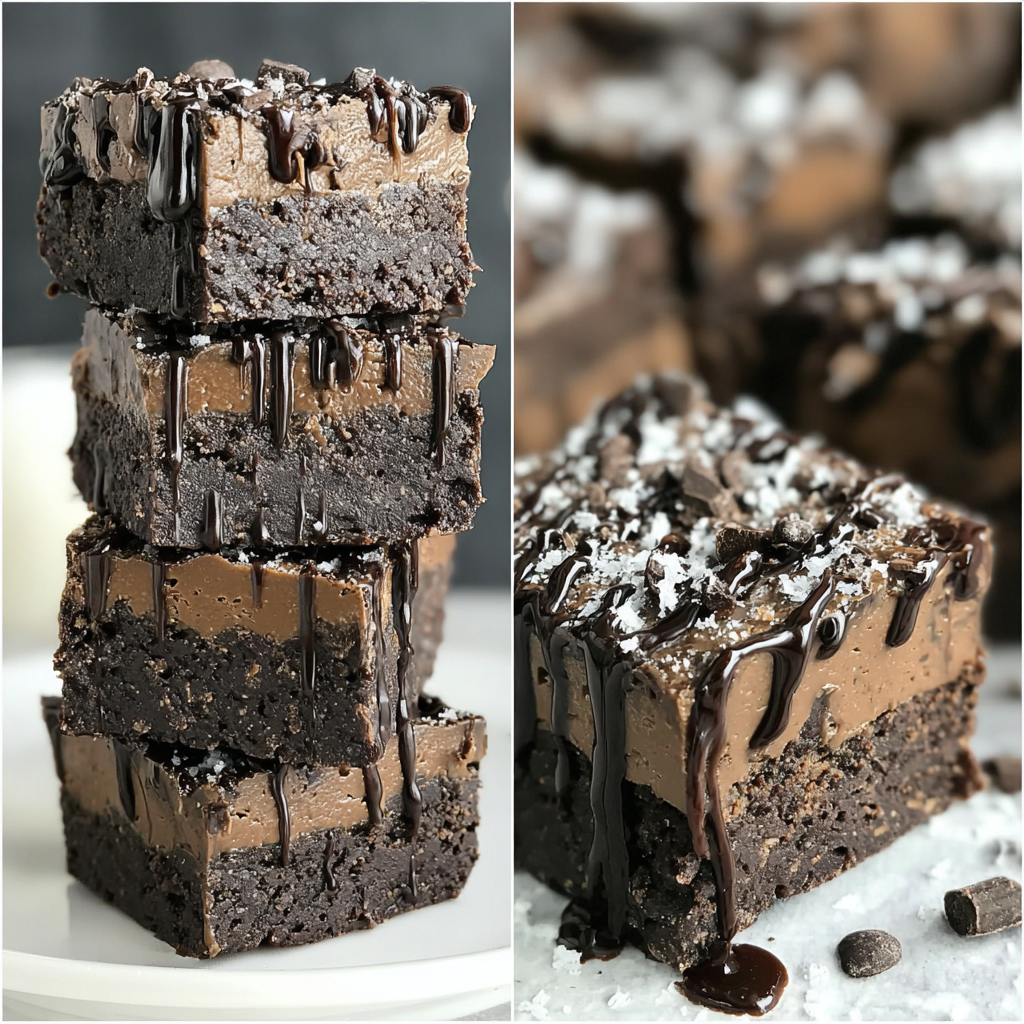
Once set, cut the fudge into squares and enjoy! You can also sprinkle some chopped nuts or sea salt on top for added flavor if desired. This is the moment where all your hard work pays off, and you can relish the rich, chocolaty bliss you’ve created in your kitchen.

The Art of Temperature Control
Temperature plays a vital role in fudge-making. Achieving the right cooking temperature ensures that the sugar dissolves correctly and that the fudge achieves its luscious texture. Use a candy thermometer if you have one; otherwise, a gentle boil should suffice. Be mindful and avoid boiling too hard or too long to prevent graininess.
Customizing Your Fudge with Mix-ins
While the classic fudge is undeniably delicious, this recipe is versatile! Consider adding in chocolate chips, dried fruit, or even a swirl of peanut butter for variation. Each addition can change the flavor profile entirely, transforming this basic fudge into something uniquely yours each time.
Storing Your Homemade Fudge
If you manage to have any fudge left, store it properly to maintain its freshness. Wrap the fudge tightly in wax paper or plastic wrap and then place it in an airtight container at room temperature. Ensuring it’s well-covered will keep the fudge from drying out, allowing you to savor its creamy texture for days.
FAQs
What to do if my fudge turned out too thick?
If your fudge is too thick, it may have been cooked too long. You can also add a bit of warm evaporated milk and reheat the mixture gently while stirring to help loosen it up.
How can I use different types of chocolate in this recipe?
You can substitute the cocoa powder with melted chocolate or dark chocolate chips. Keep in mind that using chocolate will alter the proportions slightly, so reduce sugar accordingly.
How do I know when the fudge is ready to set?
The fudge is ready to set when it has thickened and has a smooth, glossy surface. You should be able to pour it into the dish without it being too runny.
Can I make fudge without evaporated milk?
Yes, you can replace evaporated milk with heavy cream for a richer fudge, or full-fat milk if you’re looking for a lighter option; just adjust the sugar to taste.
Why did my fudge come out grainy?
Graininess can occur if the sugar didn’t dissolve properly or if it crystallized during cooking. Ensure constant stirring and avoid boiling too hard to prevent this issue.
Is adding salt to the fudge a good idea?
Absolutely! A pinch of sea salt can elevate the chocolate flavor tremendously, providing a delightful contrast to the sweetness and enhancing the overall taste.
What kind of nuts can I use in fudge?
Common choices include walnuts, pecans, or hazelnuts. You can also use toasted nuts for extra flavor or even skip them entirely for a smoother texture.
Can I double this fudge recipe?
Yes, you can double the recipe, but ensure you use a larger pot to accommodate the extra volume. Be mindful of cooking time as it may differ slightly when increasing the batch size.
Conclusion
Homemade chocolate fudge is more than just a dessert; it’s an expression of love and creativity. With its rich flavor and unique texture, each bite invites indulgence and joy.
By mastering this simple recipe, you’ll be equipped to impress friends and family or enjoy a sweet treat during quiet moments at home. Embrace the process and savor every delicious morsel of your homemade creation.
Recipe Card
Decadent Chocolate Fudge Recipe for Home Cooks
Ingredients
Method
- Prepare the Baking Dish
- Combine Sugar and Cocoa
- Add Milk and Butter
- Bring to a Boil
- Remove from Heat and Add Vanilla
- Stir Until Smooth
- Pour into the Prepared Dish
- Cool and Set
- Serve and Enjoy
Notes
Additional serving suggestions: pair with a crisp salad, garlic bread, or roasted seasonal vegetables for balance.
For make-ahead, prep components separately and assemble just before heating to preserve texture.
Taste and adjust with acid (lemon/vinegar) and salt right at the end to wake up flavors.