Introduction
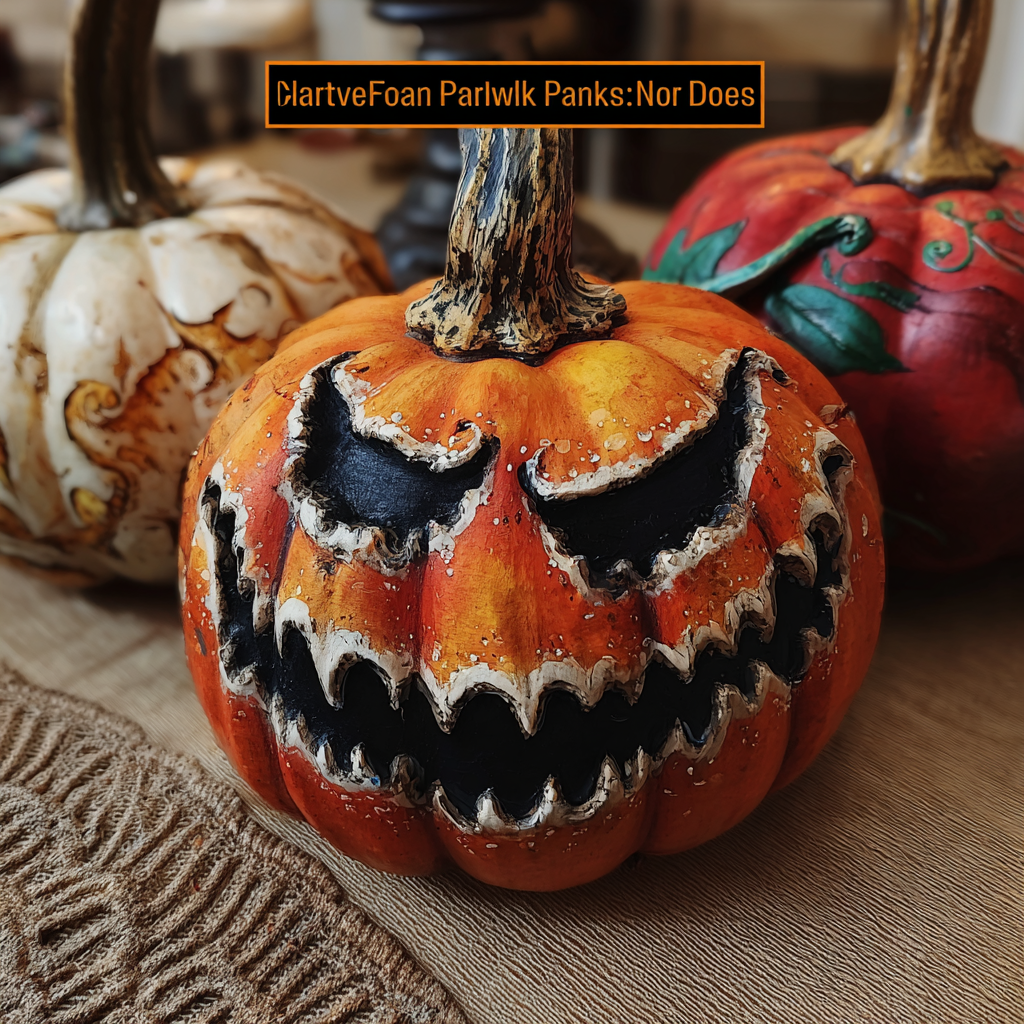
As Halloween approaches, the opportunity to infuse your home with seasonal charm and creativity presents itself. Painted pumpkins offer a delightful twist on traditional jack-o'-lanterns, allowing you to craft unique decor that showcases your artistic flair. This engaging project is perfect for families looking to bond over creativity while adding a festive touch to your celebrations.
Not only are painted pumpkins a playful alternative, but they also allow for an array of designs that can suit various themes. Whether you're aiming for whimsical, elegant, or downright spooky, these pumpkins can be customized easily with paints and embellishments. Gather your supplies, unleash your imagination, and let's make your home the talk of the neighborhood this Halloween.
Ingredients
- 1 medium pumpkin
Choose a pumpkin that is free of blemishes and has a smooth surface, which makes painting easier and yields better results. - Acrylic paints (various colors)
Acrylic paints are versatile and dry quickly, allowing you to layer colors without the lengthy drying times associated with oil paints. - Paintbrushes (various sizes)
Different brush sizes will help create a variety of designs, from fine details to broader strokes, making it easier to achieve your desired look. - Water container (for rinsing brushes)
This is essential for cleaning your brushes between color changes, ensuring that colors remain true and preventing muddy mixtures. - Palette or paper plates
Use these to mix your paints and control the amount of paint applied to each brush; they also keep your workspace organized. - Sealant (optional)
Applying a sealant after painting can protect your designs from weather elements if you choose to display your pumpkins outdoors. - Newspapers or drop cloths
Protect your working area with newspapers or a drop cloth to catch any paint spills, making clean-up a breeze.
Directions & Preparation
Step 1: Choose your pumpkin and prepare your workspace.
Start by selecting a medium pumpkin that aligns with your vision. Prepare your workspace by laying down newspapers or a drop cloth to prevent messes. This initial setup will help you focus on the fun, artistic aspects of the project without worrying about cleanup.
Step 2: Sketch your design lightly on the pumpkin.
Use a pen or pencil to lightly sketch your desired design onto the pumpkin's surface. This step is crucial as it helps in planning your painting process, allowing you to visualize the end product and make adjustments before the paint goes on.
Step 3: Start painting with a base color.
Select your base color and begin painting the broader areas of your design. Ensure even coverage and allow the first layer to dry before adding additional colors. This foundational layer sets the tone for your artwork and makes subsequent details pop.
Step 4: Add details with smaller brushes.
Once the base layer is dry, switch to smaller brushes for detailing. Use contrasting colors and creative patterns to make your design stand out. This step brings your pumpkin to life, showcasing your artistic style and imagination.
Step 5: Allow the paint to dry completely.
After applying all layers and details, let your pumpkin dry thoroughly. This waiting period is essential for preventing smudging and ensuring the longevity of your artwork, especially if you plan to apply a sealant.
Step 6: Optional: Seal your painted pumpkin.
If you plan to display your pumpkin outside or want to preserve it longer, consider applying a sealant once the paint is dry. This protective layer can help resist weather damage and keep your pumpkin looking fresh throughout the Halloween season.

Exploring Color Combinations for Unique Effects
Combining colors is an exciting aspect of painted pumpkin design. Consider using complementary or analogous color schemes to create visual interest. For instance, pairing purples with yellows or oranges with reds can add depth to your design. Don’t hesitate to experiment with metallics or glowing paints to elevate your festive decor.
Incorporating Nature: Adding Additional Elements
Enhancing your painted pumpkin with natural elements can result in a more dynamic piece. Consider attaching twigs, leaves, or even flowers that can complement your pumpkin's design. This organic touch bridges your artwork with the seasonal backdrop of autumn, creating a cohesive and inviting display.
Themes to Inspire Your Pumpkin Creations
Having a theme can help focus your creativity when painting pumpkins. From classic Halloween motifs like ghosts and witches to modern trends like floral patterns or geometric designs, the possibilities are endless. Let seasonal influences or personal interests inspire your designs, making this project uniquely yours.
FAQs
Can I use a different type of paint?
While acrylics are recommended for their quick drying time and versatility, you can use spray paint or even fabric paints for varied textures and finishes.
What's the best way to fix mistakes?
If you slip up while painting, you can carefully scrape off the paint with a utility knife or cover the area with a new layer of paint. Just ensure it’s dried fully before making changes.
How can I make my colors pop?
Using a white base coat can enhance the vibrancy of your painted colors. Applying more layers will also strengthen their appearance without needing excessive pigment.
What if I want a more textured look?
Incorporate sponges or fabric for creating textures on your pumpkin's surface. These tools can help you achieve patterns and effects that paintbrushes cannot.
How do I clean up after painting?
Make sure to wash all brushes and tools with soap and water immediately after use to prevent paint from drying on them, allowing for easier future projects.
Can I use any other decorations besides paint?
Absolutely! Stickers, glitter, and even fabric can be used to embellish your painted pumpkins, giving them unique personalities.
What if my paint is too thick or too thin?
If your paint is too thick, adding a drop of water can help achieve a better consistency. If it’s too thin, consider layering more paint to build up the desired opacity.
Conclusion
Creative painted pumpkins allow for personalization and artistic expression that can enhance your Halloween spirit. This project offers a wonderful opportunity for family bonding as everyone gets involved in the festive preparations. Remember that there are no strict rules when it comes to design, so let your imagination run wild!
With a bit of patience and creativity, you’ll create pumpkins that not only serve as decorations but also as conversation starters. Enjoy this creative journey, and have a wonderfully spooky Halloween!
Recipe Card
Creative Painted Pumpkin Decor for Halloween Fun
Ingredients
Method
- Choose your pumpkin and prepare your workspace.
- Sketch your design lightly on the pumpkin.
- Start painting with a base color.
- Add details with smaller brushes.
- Allow the paint to dry completely.
- Optional: Seal your painted pumpkin.
Notes
Additional serving suggestions: pair with a crisp salad, garlic bread, or roasted seasonal vegetables for balance.
For make-ahead, prep components separately and assemble just before heating to preserve texture.
Taste and adjust with acid (lemon/vinegar) and salt right at the end to wake up flavors.