Introduction
As winter blankets the world in a sparkling layer of snow, it’s the perfect time to bring a bit of that magic indoors with homemade snow ice cream. This nostalgic treat not only offers a fun and unique way to enjoy snow but also provides a creamy, sweet, and delightful experience that can delight families and friends alike.
Snow ice cream captures the essence of winter, turning fresh, clean snow into a delicious dessert. With just a few simple ingredients, you can create a flavor-packed treat that’s sure to impress. It’s an excellent way to engage children in the kitchen, transforming a snowy day into a memorable culinary adventure.
Ingredients
- 8 cups fresh, clean snow
The base of snow ice cream, fresh snow serves as the main ingredient. It’s essential to collect it promptly after a snowfall to ensure it’s fluffy and free from contaminants. - 1 cup milk
Milk adds creaminess to the ice cream and contributes to a rich texture. Whole milk is ideal for a more decadent final result, but any milk can work depending on your taste. - 1/2 cup granulated sugar
Sugar sweetens the ice cream, balancing the cold and keeping it flavorful. The amount can be adjusted based on your sweetness preference or dietary needs. - 1 teaspoon vanilla extract
Vanilla extract infuses a warm and aromatic flavor to the ice cream, enhancing the overall taste experience. It gives a comforting depth to each creamy scoop. - 1/4 teaspoon salt
Salt enhances sweetness and balances the flavors in your ice cream. A pinch can elevate the sweetness and bring out the other flavors beautifully.
Directions & Preparation
Step 1: Collect fresh snow.
Begin your snow ice cream adventure by gathering 8 cups of fresh, clean snow. It’s crucial to ensure that the snow is free from contaminants or debris; choose fluffy, white snow that's just fallen for the best texture. If the snow is too packed or icy, it won't achieve the perfect lightness that makes for enjoyable ice cream.
Step 2: Combine milk, sugar, vanilla, and salt.
In a large mixing bowl, whisk together 1 cup of milk, 1/2 cup of granulated sugar, 1 teaspoon of vanilla extract, and 1/4 teaspoon of salt until the sugar is fully dissolved. This mixture will serve as the creamy base for your ice cream, so ensure it's well combined for a smooth texture. Using milk with a higher fat content will yield an indulgent result.
Step 3: Mix in the snow.
Gradually fold the fresh snow into the milk mixture using a spatula. Do this gently to avoid compacting the snow, maintaining a light texture. It’s important to work quickly; letting snow sit too long can cause it to melt and affect the consistency of your ice cream.
Step 4: Adjust consistency as needed.
At this point, assess the consistency of your snow ice cream. If it's too thick, you can whisk in a little more milk to achieve a softer texture. Conversely, if it’s too runny, consider adding more snow gradually until it firms up. The ideal texture should be creamy yet fluffy.
Step 5: Serve immediately.
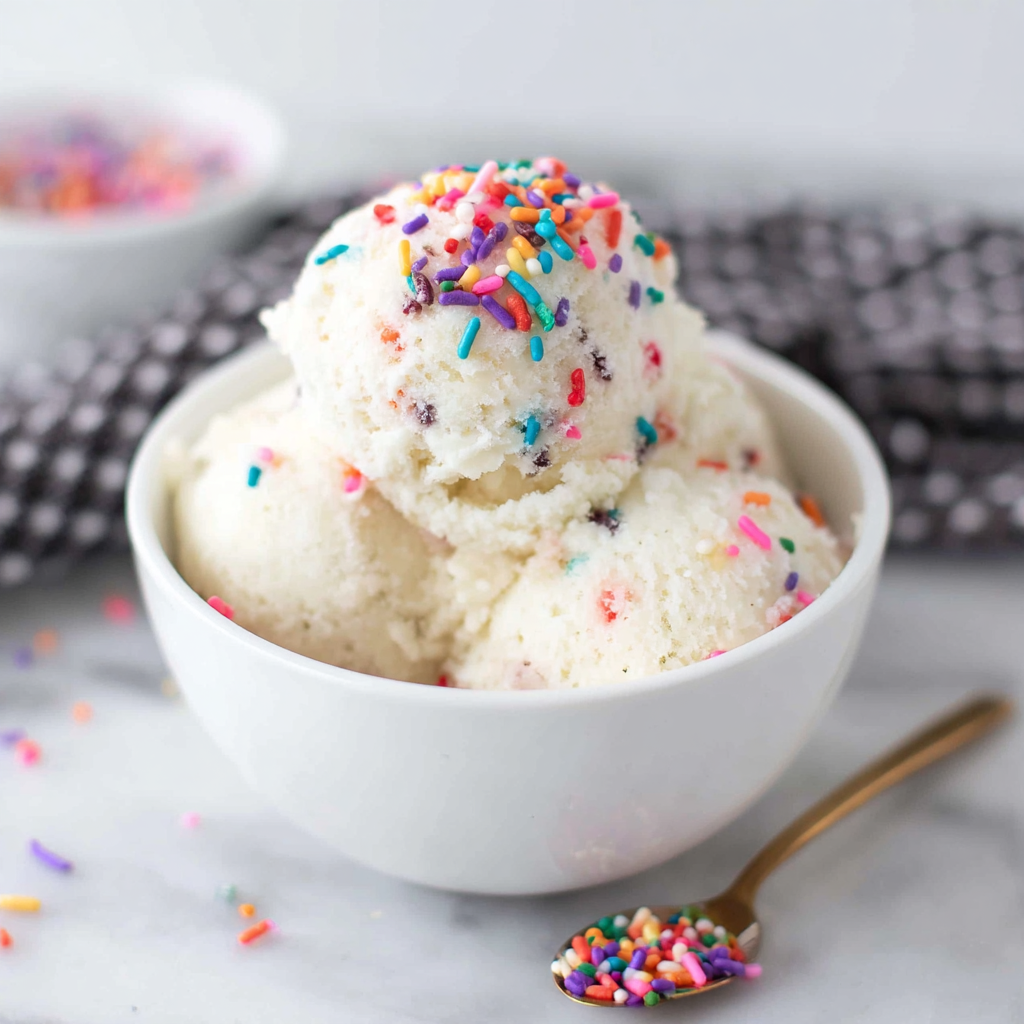
Scoop the snow ice cream into bowls or cones and enjoy it right away, as it’s best served fresh. Don’t forget to have fun by adding toppings like chocolate syrup or sprinkles. The instant gratification of this treat makes it perfect for snowy days.

Creative Flavor Variations
While the classic snow ice cream recipe is delightful on its own, you can take it a step further by introducing variations. Consider mixing in 1/4 cup of cocoa powder for a chocolate twist or using flavored syrups like strawberry or caramel to create fruity versions. You can also explore incorporating natural ingredients such as matcha for a herbal flavor or coconut milk for a tropical essence.
Perfect Snow Selection
The quality of the snow greatly impacts your ice cream. Aim for dry, powdery snow that has fallen recently, as it forms the best texture when mixed. Avoid snow that is dirty or already packed down, as it can lead to an unpleasant taste and texture. If unsure, observe the snow; if it’s too wet or heavy, it's not suitable for this treat.
Using Alternative Sweeteners
For those looking to reduce sugar intake, consider alternatives like maple syrup or agave nectar to sweeten your snow ice cream. These options can lend unique flavors while keeping the dessert enjoyable. Adjust the quantity based on sweetness desired, as these natural sweeteners have varying levels of sweetness compared to refined sugar.
FAQs
What if my snow ice cream is too thin?
If your snow ice cream is too thin, you can gradually fold in more fresh snow until you reach the desired thickness. This will help solidify it without losing too much of the creamy texture.
Can I use flavored milk instead?
Yes, flavored milk such as chocolate or strawberry can add an interesting twist to your snow ice cream. Just remember to adjust the sugar if your flavored milk is already sweetened.
Is it possible to make this dairy-free?
Absolutely! Substitute dairy milk with non-dairy alternatives like almond milk or coconut milk. Experiment with flavors since these alternatives can impart their own unique taste.
How can I incorporate fruit into the recipe?
You can puree fruit like strawberries or bananas and mix them into the milk base before adding the snow. This will create a delicious fruit-flavored ice cream that is refreshing and full of natural sweetness.
What is the best way to serve snow ice cream?
Serving snow ice cream immediately is ideal, but consider using fun bowls or cones and topping them with sprinkles, chocolate sauce, or fresh fruit for an enjoyable presentation.
Can this recipe be scaled for a crowd?
Yes, just multiply the ingredient amounts based on how many servings you need. Just be sure to collect enough snow to accommodate the increased quantity.
Conclusion
Creating snow ice cream is a delightful way to embrace the winter months. It’s an easy recipe that turns an ordinary snowfall into an extraordinary treat, bringing joy and creativity to the kitchen. The playful process perfectly captures the spirit of family togetherness.
So next time the snow falls, gather your loved ones and enjoy this sweet, chilly dessert. Your homemade snow ice cream will not only satisfy your sweet tooth but will also create cherished memories that last well beyond the winter season.
Recipe Card

Delight in Homemade Snow Ice Cream This Winter
Ingredients
Method
- Collect fresh snow.
- Combine milk, sugar, vanilla, and salt.
- Mix in the snow.
- Adjust consistency as needed.
- Serve immediately.
Notes
Additional serving suggestions: pair with a crisp salad, garlic bread, or roasted seasonal vegetables for balance.
For make-ahead, prep components separately and assemble just before heating to preserve texture.
Taste and adjust with acid (lemon/vinegar) and salt right at the end to wake up flavors.