Introduction
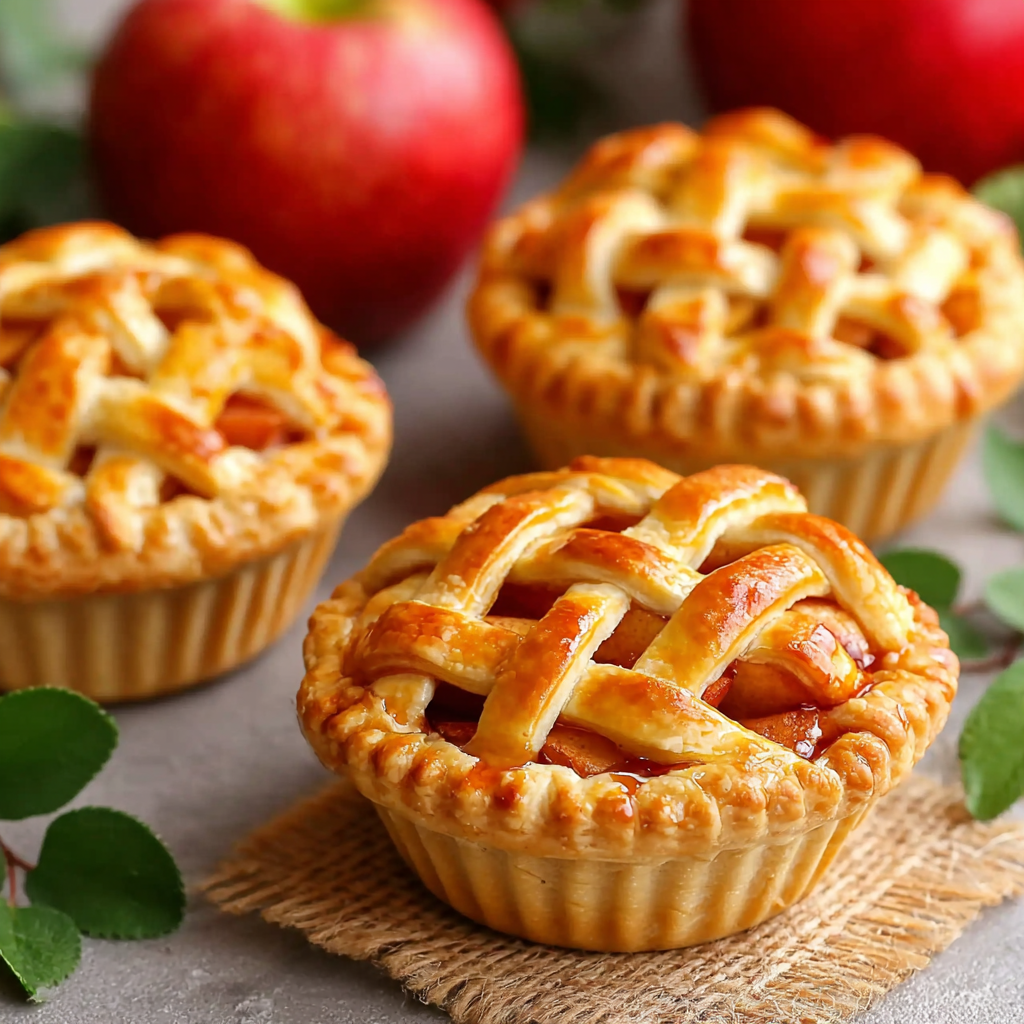
Nothing quite captures the essence of comfort food like a homemade apple pie. The melting sweetness of caramelized apples wrapped in a flaky, buttery crust is a delight that brings back memories and creates new ones. While a full-sized pie has its charm, mini apple pies offer a delightful twist, perfect for sharing or indulging alone.
These bite-sized treats are not only easy to make but also versatile enough to custom-tailor to your liking. With the right spices and fresh ingredients, you can create a sweet or tart flavor profile. The personal touch of mini apple pies makes them ideal for gatherings, potlucks, or simply a cozy evening at home.
Ingredients
- 2-3 medium apples (e.g., Granny Smith or Honeycrisp)
The apples are the star of this recipe, providing both flavor and texture. Granny Smith adds tartness, while Honeycrisp offers sweetness and crunch. Mixing the two can create a balanced filling that excites the palate. - 1/2 cup granulated sugar
Sugar is essential for sweetening the filling and helping to balance the tartness of the apples. It also aids in creating a beautiful caramelization when the pies bake. - 1 teaspoon ground cinnamon
Cinnamon adds warmth and depth to the filling, infusing the pies with a classic autumn aroma. This spice enhances the natural sweetness of the apples and brings everything together harmoniously. - 1 tablespoon lemon juice
Lemon juice brightens the flavors and prevents the apples from browning too quickly. It adds a touch of acidity that complements the sweetness of the filling. - 1 tablespoon butter, melted
Butter enriches the filling and creates a luxurious mouthfeel. It also helps to bind the ingredients together, ensuring a cohesive and flavorful experience in each bite. - 1 package refrigerated pie crusts (2 crusts)
Using pre-made pie crusts saves time and effort, making this recipe accessible for home cooks. The buttery, flaky texture of the crust surrounding the apple filling is essential for creating that perfect pie experience. - 1 egg (for egg wash)
An egg wash is used to give the crust a beautiful golden sheen once baked. It also helps to seal the edges of the pies, preventing the filling from leaking out. - 1/4 teaspoon nutmeg (optional)
Nutmeg adds a warm, fragrant note that enhances the overall flavor profile of the pies. It's optional but can elevate the taste by providing a subtle depth.
Directions & Preparation
Step 1: Preheat your oven to 375°F (190°C).
Preheating the oven is critical to ensure that the mini pies bake evenly and develop that desirable golden crust. A hot oven will create the right environment for the steam to escape, allowing the filling to cook properly without making the crust soggy.
Step 2: Prepare the apples by peeling, coring, and slicing them into thin wedges.
Uniform apple slices are crucial because they ensure even cooking. Thin wedges will cook down quickly, allowing for a tender filling without undercooked apple pieces. Choose a mix of apples for complexity in flavor.
Step 3: In a large bowl, combine the apple slices, sugar, cinnamon, lemon juice, melted butter, and nutmeg (if using).
Mixing these ingredients allows the apples to absorb the sweet and spicy flavors, making for a delicious filling. It also encourages the apples to release their natural juices, which adds to the overall flavor and moisture of the filling.
Step 4: Roll out the pie crusts and cut them into circles that fit your mini pie pans.
Using a circle cutter helps produce uniform pieces of dough, which is important for even baking. Aim for circles that are slightly larger than the openings of your mini pie pans to allow for a nice edge. This step also lets you enjoy the tactile pleasure of working with dough.
Step 5: Place the dough circles into the mini pie pans, gently pressing them into the bottom and sides.
Gently pressing the dough into the pans helps maintain the shape during baking and allows room for the filling. Avoid stretching the dough, which can cause it to shrink while baking. Make sure there is a little overhanging dough for a decorative edge.
Step 6: Spoon the apple filling into each crust, filling them generously.
Filling the crusts generously allows for a delightful apple-to-crust ratio in each pie. The filling will cook down while baking, so it’s okay to leave some space at the top. Aim for an appealing mound of apples, making the pies visually enticing.
Step 7: Cut small slits in the tops of the crusts for steam to escape.
These slits prevent the pies from bursting during baking by allowing steam to release. They also create a decorative effect on the pie surface, contributing to the overall presentation and signaling that these are homemade treats.
Step 8: Brush the tops with the egg wash to promote browning.
Applying an egg wash not only gives the pies a beautiful golden brown color but also helps to seal the edges of the crust. This step enhances the visual appeal of the finished pies, making them look even more appetizing.
Step 9: Bake in the preheated oven for 20-25 minutes, or until the crust is golden and flaky.
Baking the pies until they are golden ensures that the crust is perfectly cooked and crunchy. Keep an eye on them towards the end of the baking time to avoid overbaking, which could lead to a dry filling or burnt edges.
Step 10: Let the mini pies cool for a few minutes before serving.
Cooling the pies for a few minutes allows the filling to set up slightly and makes them easier to handle. This also enhances the flavor, as the aromas continue to meld together, creating a delightful scent that will tantalize your taste buds.

Variations to Try
Mini apple pies are incredibly versatile and can be customized to fit various flavor profiles. Consider adding cranberries for a tart contrast, or swapping out some sugar for brown sugar to enhance the depth of flavor. You can even experiment with different spices, like cardamom or ginger, for a unique twist. Different apples also yield different results—each variety brings its own character to the pies.
Serving Suggestions
These mini apple pies are delightful on their own but can be elevated with a variety of accompaniments. Serve them warm with a scoop of vanilla ice cream for a classic dessert experience, or drizzle with caramel sauce for added indulgence. A sprinkle of fresh whipped cream on top can also enhance the presentation and flavor, giving you a restaurant-worthy treat right at home.
Storing and Reheating
If you have any mini apple pies left over, they can be stored easily. Allow them to cool completely before placing them in an airtight container in the fridge, where they can last for about three days. To reheat, pop them in the oven at a low temperature for a few minutes until warmed through. This method keeps the crust from getting soggy, ensuring each bite remains flaky and delicious.
FAQs
Can I use different types of apples?
Absolutely! Feel free to mix and match different apple varieties. Combining tart and sweet apples can add complexity to the flavor, resulting in a more balanced filling.
What can I do if my pie filling is too thick?
If you find your filling too thick, it could be due to excess sugar or not enough moisture from the apples. Adding a splash of water or apple juice can help loosen it. Just be cautious not to overdo it, as you don't want a soggy pie.
What if the pie crust is too crumbly?
If your crust is crumbly, it might be due to too much flour or not enough moisture. Adding a little cold water, one teaspoon at a time, can help bind the dough. Make sure not to overwork the dough to maintain flakiness.
Can I substitute the pie crust for something gluten-free?
Yes, you can use a gluten-free pie crust available at most stores or make your own from gluten-free flour blends. Just ensure your filling ingredients are also gluten-free to maintain a compliant dish.
What spices can I add to the filling?
In addition to cinnamon and nutmeg, you can add spices like allspice or ginger for an extra kick. Each spice will lend a unique flavor profile, elevating your mini pies.
What should I do if the apples are too bland?
If the filling ends up bland, consider adding more sugar, lemon juice, or spices to enhance the flavor. A pinch of salt can also help balance sweetness and elevate the overall taste.
Conclusion
Mini apple pies are a warm and inviting treat that can evoke nostalgia while offering a modern, shareable twist. With their flaky crust and flavorful apple filling, they're suitable for any occasion, from casual family dinners to festive celebrations.
Armed with this recipe, you can easily create a batch of delightful treats that are sure to impress your family and friends. Don't forget to play around with flavors and enjoy the process of baking something truly special.
Recipe Card
Delightful Mini Apple Pies for Any Occasion
Ingredients
Method
- Preheat your oven to 375°F (190°C).
- Prepare the apples by peeling, coring, and slicing them into thin wedges.
- In a large bowl, combine the apple slices, sugar, cinnamon, lemon juice, melted butter, and nutmeg (if using).
- Roll out the pie crusts and cut them into circles that fit your mini pie pans.
- Place the dough circles into the mini pie pans, gently pressing them into the bottom and sides.
- Spoon the apple filling into each crust, filling them generously.
- Cut small slits in the tops of the crusts for steam to escape.
- Brush the tops with the egg wash to promote browning.
- Bake in the preheated oven for 20-25 minutes, or until the crust is golden and flaky.
- Let the mini pies cool for a few minutes before serving.
Notes
Additional serving suggestions: pair with a crisp salad, garlic bread, or roasted seasonal vegetables for balance.
For make-ahead, prep components separately and assemble just before heating to preserve texture.
Taste and adjust with acid (lemon/vinegar) and salt right at the end to wake up flavors.