Introduction
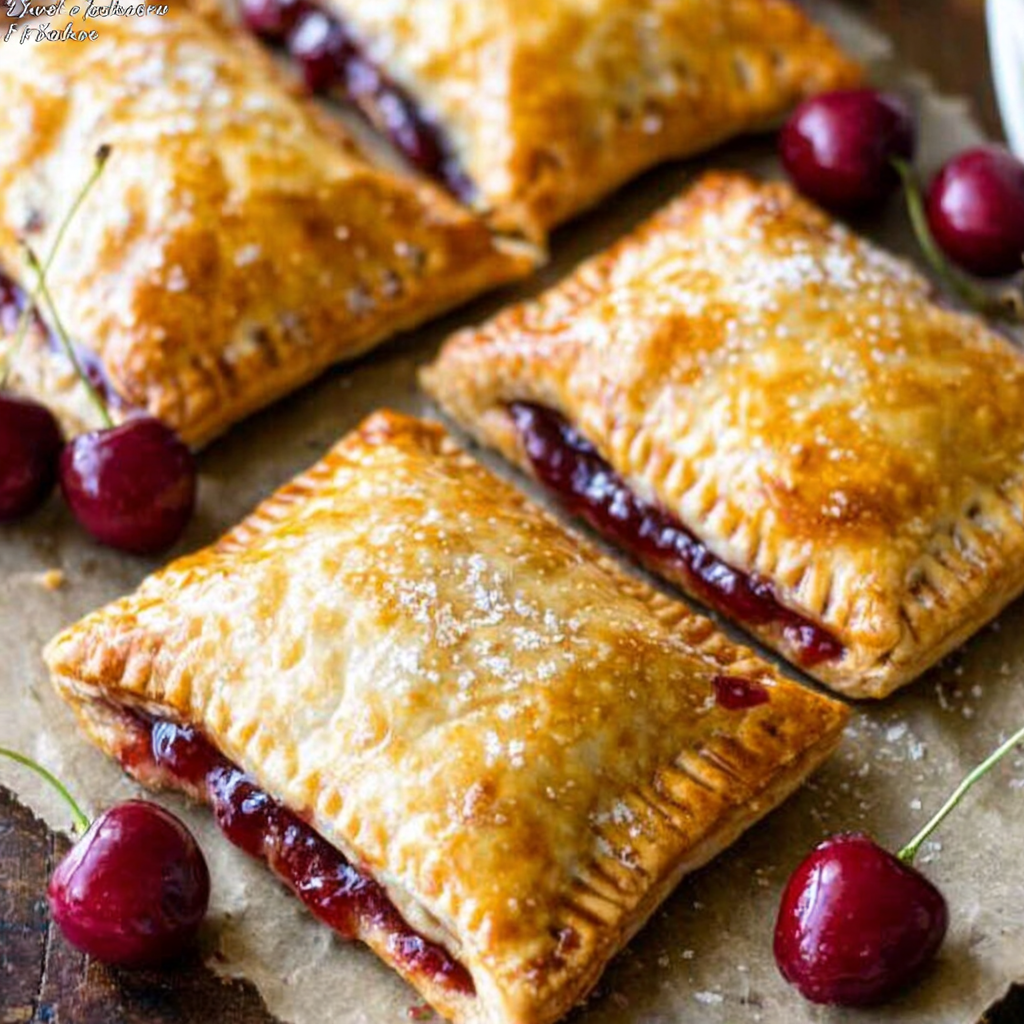
Cherry pastry pies are a delightful treat that seamlessly blend the sweetness of cherries with the flaky goodness of pastry. Perfect for dessert or an afternoon snack, these pies bring a burst of flavor that celebrates the summer harvest, no matter the season.
Creating your own cherry pastry pies allows you to indulge in fresh ingredients and customize flavors to your liking. The experience of crafting these treats at home is immensely rewarding, as the aroma of baked cherries fills your kitchen, enticing all who enter.
Whether using fresh or frozen cherries, these pies are a tribute to the time-honored tradition of home baking. Scrumptious and versatile, cherry pastry pies can be served warm or cold, making them a perfect addition to any gathering.
Ingredients
- 2 cups fresh or frozen cherries
Cherries are the star of this recipe, providing natural sweetness and a vibrant color. Fresh cherries will offer a firmer texture, while frozen ones are easily accessible year-round and may yield more juices. - 1 cup granulated sugar
Sugar balances the tartness of the cherries and enhances their natural flavors. It also helps in forming a syrupy filling when mixed with the cherries, which adds to the pie's rich texture. - 1 tablespoon cornstarch
Cornstarch acts as a thickening agent in the cherry filling, preventing it from becoming too runny when baked. It ensures a pleasant consistency that holds together nicely when cutting into the pie. - 1 teaspoon vanilla extract
Vanilla adds a warm depth of flavor to the cherry filling, enhancing the overall taste without overpowering the fruit. It complements the cherry aroma beautifully. - 1 tablespoon lemon juice
Lemon juice provides a bright acidity that balances the sweetness of the cherries. It enhances the overall flavor and helps preserve the color of the filling. - 1 pre-made pie crust or homemade pastry dough
The pie crust serves as the structural base for the pies, providing flakiness and a satisfying crunch. A store-bought crust is convenient, while homemade offers superior taste and freshness. - 1 egg, beaten (for egg wash)
The egg wash gives the pastry an attractive golden-brown finish when baked. It helps to seal the edges, ensuring that the filling stays contained within the crust.
Directions & Preparation
Step 1: Preheat your oven to 425°F (220°C).
Preheating the oven is a crucial step that ensures your pastry cooks evenly and achieves a golden-brown color. An adequately heated oven helps in achieving a crispy texture and makes the baking process efficient.
Step 2: Prepare the cherry filling: In a medium bowl, combine cherries, sugar, cornstarch, vanilla extract, and lemon juice.
Mixing the ingredients for the filling is essential to ensure that the flavors meld together. This step allows the cherries to release their juices, which, when combined with sugar and cornstarch, will create that luscious syrup.
Step 3: Roll out the pie crust on a floured surface and cut into circles for the pies.
Rolling out the crust to the right thickness is key for a flaky texture. Make sure the dough is evenly rolled to prevent any areas being too thick or thin, which can affect the baking.
Step 4: Spoon a heaping tablespoon of cherry filling onto one half of each dough circle.
Placing the filling correctly ensures that the pies are well-filled without overflowing. Leaving some space around the edges will help in sealing the pies properly.
Step 5: Fold the other half of the dough over the filling and crimp the edges to seal.
Sealing the edges properly is crucial to prevent the filling from leaking out during baking. A fork can be used to create a decorative edge while also ensuring a good seal.
Step 6: Place the pies on a baking sheet lined with parchment paper and brush the tops with beaten egg.
Using parchment paper makes for easy clean-up and prevents the pies from sticking. The egg wash not only adds color but also gives the pastry a nice sheen that makes the pies visually appealing.
Step 7: Bake in the preheated oven for 20-25 minutes or until golden brown.
Baking at the right temperature and duration is essential for achieving the perfect crust texture. Keep an eye on the pies, as the baking time may vary slightly based on your oven.
Step 8: Allow the cherry pastry pies to cool for a few minutes before serving warm or at room temperature.
Cooling the pies slightly before serving allows the filling to set, making them easier to handle and eat. Warm pies offer that comforting feeling, while room temperature pies enhance the flavor.

Perfecting the Cherry Filling
When preparing the cherry filling, the balance of sweetness and acidity is essential. Taste the cherries before adding sugar; if they are overly tart, you may need to increase the sugar slightly. Adjusting the cornstarch as needed will also ensure that the filling achieves the desired thickness.
Mastering the Pie Crust
Whether using store-bought or homemade dough, ensure it’s rolled out on a floured surface to avoid sticking. If making your own, keep the butter cold as it ensures a flaky crust. Consider chilling the rolled-out crust in the refrigerator for a few minutes before filling for even better results.
Serving Suggestions
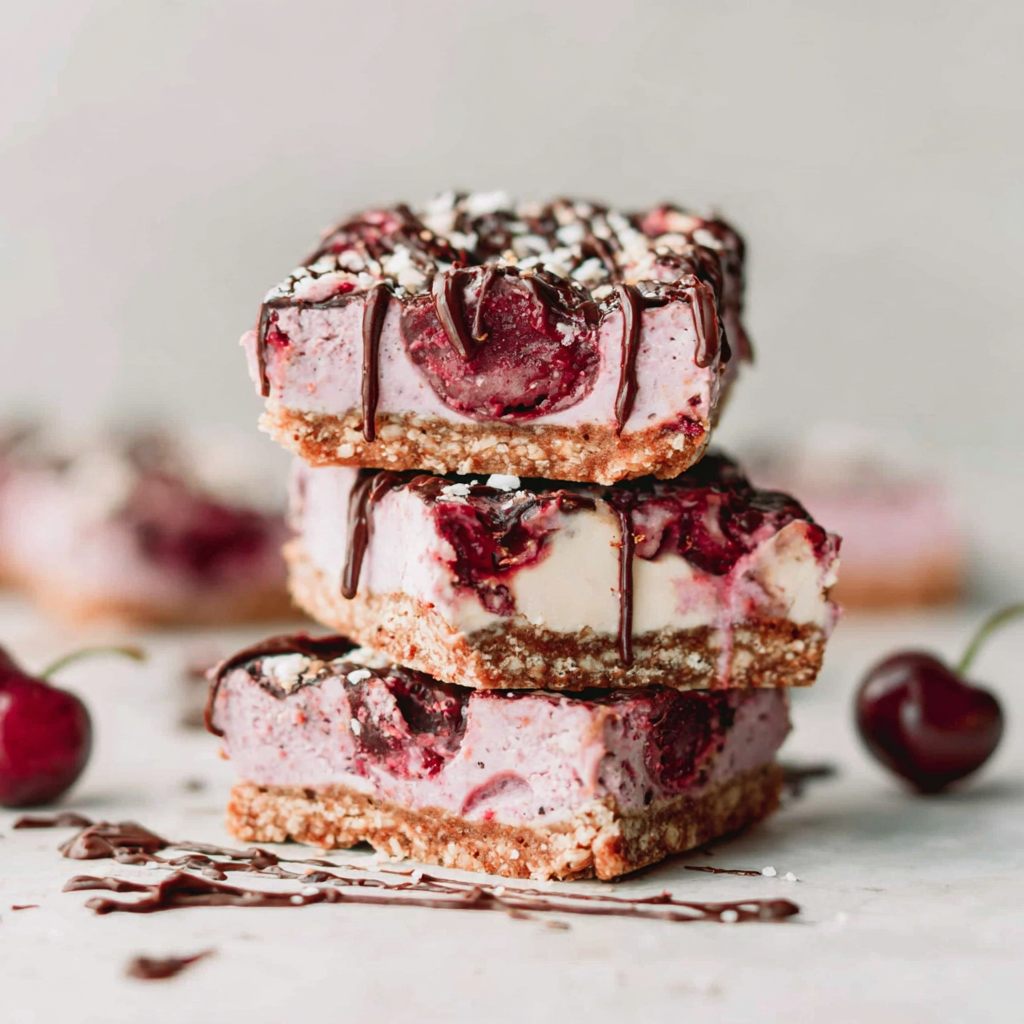
These cherry pastry pies are delightful on their own but can be elevated with a scoop of vanilla ice cream or a dollop of whipped cream. For an extra touch, consider drizzling some chocolate sauce or serving with a side of fresh cherries for an inviting presentation.
FAQs
Why is my cherry filling too thin?
If your filling is too thin, it might be due to insufficient cornstarch. Make sure to accurately measure and mix the cornstarch with the filling ingredients before baking.
How can I tell the pastry is done?
Your pastry will be done when it turns a rich golden brown and is firm to the touch. The filling may also start to bubble slightly, indicating it's fully cooked.
Can I scale this recipe up for larger pies?
Yes, to make larger pies, double the quantities and use a larger baking dish. Increase the baking time as needed to ensure the filling cooks through.
What if my pies taste bland?
If the pies taste bland, consider increasing the amount of sugar or lemon juice to brighten the flavors. Always taste your filling before sealing the pies.
Can I use other fruits in this recipe?
Absolutely! You can substitute cherries with blueberries, apples, or peaches, but adjust the sugar and corn starch according to the different fruit's sweetness and juiciness.
What should I do if the pastry becomes tough during preparation?
If your dough becomes tough, it may have been overworked. Ensure you're mixing just until combined and chill the dough before rolling it out, which helps maintain a tender texture.
Conclusion
Creating your cherry pastry pies at home is not just about enjoying a sweet treat; it's a process filled with tradition and creativity. The combination of sweet and tart flavors encased in a light, flaky crust is truly irresistible.
With a little practice and attention to detail, you'll find yourself bringing these delightful pastries to countless gatherings, sharing the joy they bring with family and friends. Remember, the satisfaction of homemade pies is truly special.
Recipe Card

Indulge in Homemade Cherry Pastry Pies
Ingredients
Method
- Preheat your oven to 425°F (220°C).
- Prepare the cherry filling: In a medium bowl, combine cherries, sugar, cornstarch, vanilla extract, and lemon juice.
- Roll out the pie crust on a floured surface and cut into circles for the pies.
- Spoon a heaping tablespoon of cherry filling onto one half of each dough circle.
- Fold the other half of the dough over the filling and crimp the edges to seal.
- Place the pies on a baking sheet lined with parchment paper and brush the tops with beaten egg.
- Bake in the preheated oven for 20-25 minutes or until golden brown.
- Allow the cherry pastry pies to cool for a few minutes before serving warm or at room temperature.
Notes
Additional serving suggestions: pair with a crisp salad, garlic bread, or roasted seasonal vegetables for balance.
For make-ahead, prep components separately and assemble just before heating to preserve texture.
Taste and adjust with acid (lemon/vinegar) and salt right at the end to wake up flavors.