Introduction
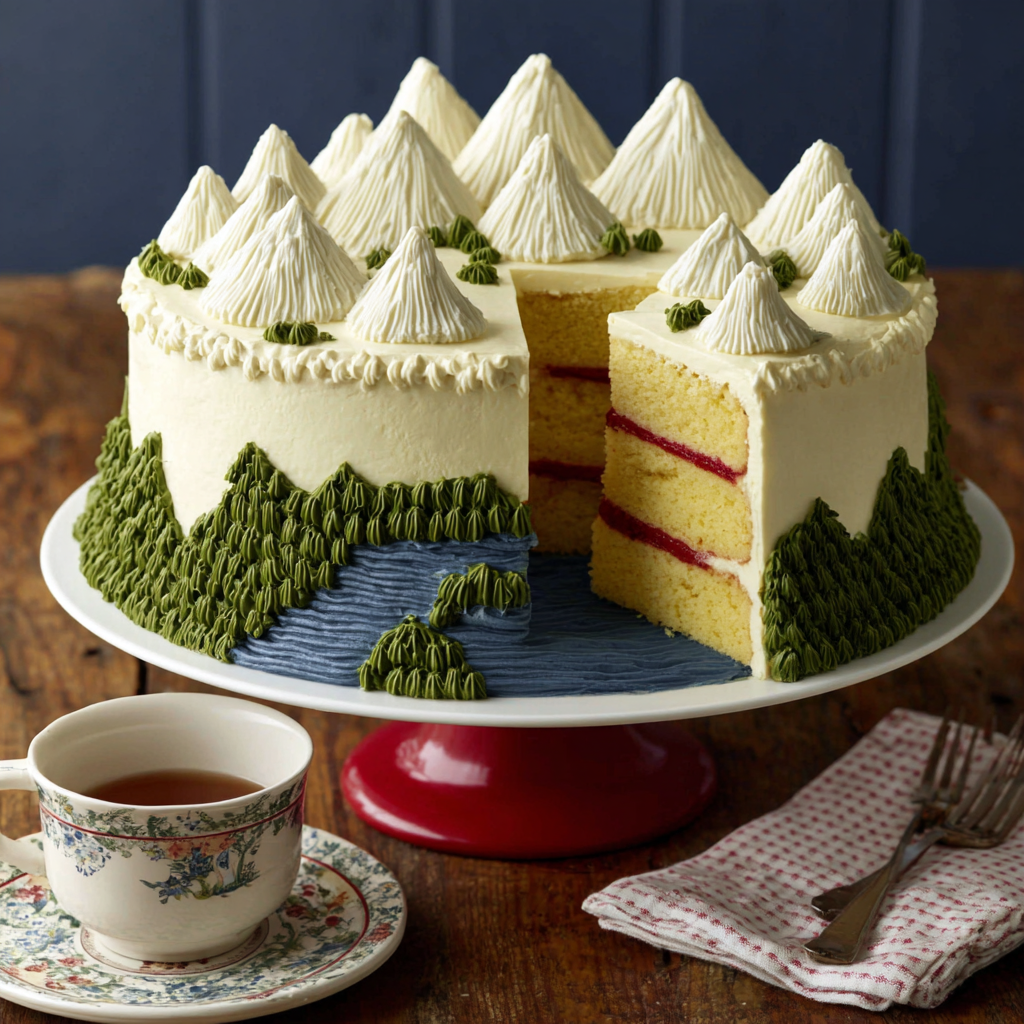
As winter descends and the mountains become blanketed in snow, the desire for a cozy, indulgent dessert arises. Ski Mountain Cake, with its rich flavors and comforting textures, embodies the spirit of alpine adventures. This cake not only offers a sweet reprieve after a day on the slopes but also brings a sense of warmth to any gathering.
Bringing together layers of chocolate, nuts, and luscious cream, this cake is a celebration of winter's best ingredients. Whether you are curling up by the fireside or entertaining friends after a day of skiing, this cake will surely delight both the palate and the spirit.
Ingredients
- 2 cups all-purpose flour
All-purpose flour serves as the foundation of our cake, providing structure and allowing it to rise. Its gluten content helps achieve the ideal balance between tenderness and stability. - 1 cup unsweetened cocoa powder
Cocoa powder adds a rich chocolate flavor to the cake, enhancing its depth and decadence. It also contributes to the cake's dark color and helps keep it moist. - 1 cup granulated sugar
Sugar not only sweetens the cake but also acts as a moisture-retaining agent. It aids in achieving a soft texture while promoting browning through caramelization. - 1/2 cup brown sugar
Brown sugar includes molasses, which adds a deeper, more complex flavor and additional moisture to the cake. This results in a chewy texture that contrasts beautifully with lighter elements. - 1 cup unsalted butter, softened
Butter enriches the cake, contributing to its tenderness and flavor. It also helps create a light texture through the creaming process, which incorporates air into the batter. - 4 large eggs
Eggs provide moisture and richness, enhancing the overall flavor. They also act as a binding agent, giving structure to the cake while contributing to its height and fluffiness. - 1 cup buttermilk
Buttermilk enriches the cake while also providing acidity, which helps activate baking soda and leads to a lighter, fluffier cake. It adds a subtle tang that balances the sweetness. - 1 teaspoon vanilla extract
Vanilla extract enhances the overall flavor profile of the cake, adding warmth and complexity. This aromatic element can elevate the sweet notes without overshadowing the chocolate. - 1 teaspoon baking powder
Baking powder adds leavening, which helps the cake to rise. It ensures that the cake achieves a soft and light texture, making each bite pleasant and airy. - 1/2 teaspoon baking soda
Baking soda also contributes to leavening by reacting with acids in the batter. This reaction produces carbon dioxide bubbles, providing lift and helping to keep the cake fluffy. - 1/2 teaspoon salt
Salt is essential for enhancing flavor and balancing sweetness. It also contributes to overall texture by tightening the gluten structure, making the cake more robust. - 1 cup chopped nuts (walnuts or hazelnuts)
Chopped nuts provide a delightful crunch and a nutty flavor, contrasting beautifully with the soft cake. They also contribute healthy fats and additional richness. - 1 cup heavy cream
Heavy cream is key for the frosting, giving it the necessary richness and stability. It whips up beautifully to create a luscious topping that complements the cake. - 1/4 cup powdered sugar
Powdered sugar sweetens the whipped cream frosting while also ensuring a smooth texture. This sugar dissolves easily, preventing grittiness and ensuring a velvety finish. - 1 teaspoon vanilla extract (for frosting)
Just like in the cake batter, vanilla in the frosting brings an aromatic element that enhances the overall flavor, marrying beautifully with the cream.
Directions & Preparation
Step 1: Preheat the oven to 350°F (175°C) and prepare your cake pans.
Preheating the oven is crucial for uniform baking, ensuring that the cake rises properly. Greasing and flouring the pans will help to release the cake effortlessly once baked, preventing any sticking or tearing during removal.
Step 2: In a large bowl, cream together the softened butter, granulated sugar, and brown sugar until light and fluffy.
This step is fundamental for incorporating air into the butter and sugars, leading to a light and tender cake. Proper creaming is key; be sure to scrape down the sides of the bowl to achieve an even mixture.
Step 3: Add the eggs one at a time, mixing well after each addition, then stir in the vanilla extract.
Incorporating the eggs gradually helps to emulsify the mixture, ensuring a stable structure. The added vanilla enhances the batter's flavor, providing a warm backdrop to the chocolate notes.
Step 4: In a separate bowl, sift together the flour, cocoa powder, baking powder, baking soda, and salt.
Sifting the dry ingredients prevents any lumps and encourages even distribution of leavening agents. This step is essential for achieving a uniform texture in the final cake, contributing to its overall quality.
Step 5: Gradually add the dry ingredients to the wet mixture, alternating with the buttermilk, mixing until just combined.
Mixing only until just combined helps prevent overdevelopment of gluten, which can lead to a tough cake. The alternating addition of buttermilk adds moisture while maintaining a smooth batter.
Step 6: Fold in the chopped nuts carefully.
Gently folding the nuts into the batter ensures they are evenly distributed throughout the cake without deflating the airiness of the batter. This adds texture and a delightful nutty flavor to each slice.
Step 7: Divide the batter evenly between the prepared cake pans and smooth the tops.
Evenly dividing the batter ensures that both layers bake at the same rate, preventing one from being over or undercooked. Smoothing the tops helps create a uniform surface for frosting later.
Step 8: Bake in the preheated oven for 25-30 minutes, or until a toothpick inserted into the center comes out clean.
Baking at the right temperature allows the cake to rise properly while ensuring it cooks through. Checking with a toothpick prevents overbaking, which can dry out the cake.
Step 9: Allow the cakes to cool in the pans for 10 minutes, then transfer to wire racks to cool completely.
Allowing the cake to cool in the pans briefly helps firm it up, reducing the likelihood of cracking when removed. Transferring to wire racks allows for even cooling, which is vital for a stable frosting.
Step 10: While the cake cools, prepare the whipped cream frosting by beating heavy cream, powdered sugar, and vanilla extract together until soft peaks form.
Whipping the cream until soft peaks form ensures that it will hold its shape when spread on the cake. The sugar sweetens the frosting while stabilizing the cream, creating a delightful texture.
Step 11: Once the cakes are completely cool, frost the top of one layer, then stack the second layer on top and frost the top and sides.
Layering the frosting in-between the cakes adds to the flavor and texture, while frosting the top and sides gives the cake an appealing finish. Make sure to smooth out the frosting for a professional look.
Step 12: Garnish with additional nuts or chocolate shavings if desired, and serve.
Garnishing adds visual appeal and excitement to the presentation of the cake. Chocolate shavings or nuts can elevate the cake's look while providing extra texture and flavor with every slice.

Enhancing Flavor with Nut Varieties
The choice of nuts in Ski Mountain Cake can dramatically alter its flavor and texture. While walnuts provide a classic taste, hazelnuts offer a uniquely toasty, slightly sweet profile. Consider rotating nut varieties based on seasonal availability to refresh your cake experience, each sensing a different depth of flavor that complements the chocolate beautifully.
Layering Techniques for a Stunning Presentation
When it comes to layering and frosting your Ski Mountain Cake, a few techniques can ensure a show-stopping presentation. Using a cake leveler or serrated knife, trim any dome shapes off the tops for a stable stack. Crumb coating the layers with a thin layer of frosting before the final coat helps achieve a clean, beautiful finish—perfect for those who appreciate aesthetics as much as taste.
Pairing Your Cake with Seasonal Accents
To elevate your Ski Mountain Cake experience, consider seasonal accents like fresh berries or a drizzle of warm chocolate sauce. These additions enhance both flavor and presentation, making for a dessert that captures the essence of winter festivities. A dollop of spiced whipped cream can also add warmth, inviting guests to savor each bite even more.
FAQs
What can I do if the cake turns out too dense?
If your Ski Mountain Cake is too dense, it may be due to overmixing the batter. Ensure that you mix the wet and dry ingredients just until combined and avoid overbeating the eggs.
How can I adjust the recipe for a smaller cake?
To scale down the Ski Mountain Cake, simply halve the ingredient quantities and use smaller cake pans. Keep an eye on the baking time, reducing it as necessary since smaller cakes may bake faster.
Can I use a different type of frosting?
Absolutely. While the whipped cream frosting is light and complimentary, you might experiment with cream cheese frosting or a ganache for added richness that pairs wonderfully with the chocolate cake.
What should I do if my frosting is too runny?
If your whipped cream frosting is too runny, it could be due to overwhipping or not enough powdered sugar. Gradually add more sugar and continue whipping until you achieve the desired consistency.
Is there a way to make this cake gluten-free?
You can substitute the all-purpose flour with a gluten-free flour blend. Ensure it contains xanthan gum, which helps replicate the texture that gluten provides.
How do I prevent the cake from sinking in the middle?
To prevent sinking, avoid opening the oven door too early and ensure the oven is fully preheated. Inaccurate baking times can also affect rise—accurately test for doneness before removing.
Can I make this cake with different fillings?
Certainly! You can incorporate layers of fruit jams, chocolate ganache, or other flavored creams between the cake layers to add surprise and contrast to each slice.
What is the best way to slice a cake without ruining it?
To slice your cake neatly, use a hot knife. Run it under hot water, dry it, and then slice. This will create a clean cut without squishing the layers.
Conclusion
Ski Mountain Cake is more than a dessert; it's a celebration of flavors and textures that echo the joy of winter adventures. With layers of chocolate, nuts, and creamy frosting, this recipe invites creativity in both preparation and presentation.
As you make this cake for friends or family, remember the joyous moments that come with sharing good food. Whether on your dining table or amidst a snowy landscape, this delightful cake is sure to warm hearts and palates alike.
Recipe Card
Ski Mountain Cake: A Delightful Alpine Treat
Ingredients
Method
- Preheat the oven to 350°F (175°C) and prepare your cake pans.
- In a large bowl, cream together the softened butter, granulated sugar, and brown sugar until light and fluffy.
- Add the eggs one at a time, mixing well after each addition, then stir in the vanilla extract.
- In a separate bowl, sift together the flour, cocoa powder, baking powder, baking soda, and salt.
- Gradually add the dry ingredients to the wet mixture, alternating with the buttermilk, mixing until just combined.
- Fold in the chopped nuts carefully.
- Divide the batter evenly between the prepared cake pans and smooth the tops.
- Bake in the preheated oven for 25-30 minutes, or until a toothpick inserted into the center comes out clean.
- Allow the cakes to cool in the pans for 10 minutes, then transfer to wire racks to cool completely.
- While the cake cools, prepare the whipped cream frosting by beating heavy cream, powdered sugar, and vanilla extract together until soft peaks form.
- Once the cakes are completely cool, frost the top of one layer, then stack the second layer on top and frost the top and sides.
- Garnish with additional nuts or chocolate shavings if desired, and serve.
Notes
Additional serving suggestions: pair with a crisp salad, garlic bread, or roasted seasonal vegetables for balance.
For make-ahead, prep components separately and assemble just before heating to preserve texture.
Taste and adjust with acid (lemon/vinegar) and salt right at the end to wake up flavors.