Introduction
Chocolate cobbler is a warm and indulgent dessert that captures the essence of comfort food. With a rich chocolate flavor and a decadent texture, it’s perfect for satisfying sweet cravings.
This dish marries the textures of cake and pudding, creating a unique experience each time it’s served. Whether it’s a weeknight treat or a special occasion, chocolate cobbler is sure to delight.
Ingredients
- 1 cup all-purpose flour
The foundation of the cobbler, all-purpose flour provides structure and texture. It helps create the cake-like layer that sits atop the gooey chocolate base. - 1 cup granulated sugar
Sugar not only sweetens the dish, but it also contributes to the texture of the cobbler. It helps create a nice crust on top and balances the rich chocolate flavor. - 2 tablespoons cocoa powder
Cocoa powder deepens the chocolate flavor, giving the cobbler its distinct taste. It also adds to the overall richness of the dish, making each bite a delight. - 2 teaspoons baking powder
This leavening agent helps the cobbler rise, ensuring the cake layer forms properly on top of the molten chocolate. It contributes to the light and airy texture. - 1/2 teaspoon salt
Salt enhances the sweetness of the dessert and balances the flavors. It plays a crucial role in rounding out the sweetness of the sugar. - 1 cup milk
Milk adds moisture to the batter, making it smooth and creamy. It also helps in the baking process, creating a nice texture in the dessert. - 1/2 cup unsalted butter, melted
Butter enriches the flavor and provides moisture, lending a tender crumb to the cake layer. The fat content from the butter enhances the overall indulgence of the cobbler. - 1 cup chocolate chips
Chocolate chips are folded into the mixture to create pockets of molten chocolate throughout. They provide rich bursts of chocolate that enhance the dessert’s flavor. - 1 cup hot water
Hot water is poured over the assembled ingredients before baking, which helps dissolve the sugar and cocoa. This step is crucial for creating the gooey chocolate layer beneath the cake.
Directions & Preparation
Step 1: Preheat your oven to 350°F (175°C).
Preheating the oven ensures an even temperature, critical for proper cooking. This allows the cobbler to rise effectively and bake throughout, avoiding undercooked spots.
Step 2: In a large bowl, combine flour, sugar, cocoa powder, baking powder, and salt.
Mixing dry ingredients first allows for even distribution of each component. This ensures a uniform texture and avoids clumping, setting the stage for a well-blended batter.
Step 3: Stir in the milk and melted butter until smooth.
Adding milk and butter creates a batter that is both rich and creamy. Mixing until smooth prevents lumps, which is vital for a consistent texture in the final cobbler.
Step 4: Fold in the chocolate chips gently.
Folding the chocolate chips into the batter ensures they are evenly distributed without over-mixing. This preserves the fluffy texture of the batter while incorporating pockets of chocolate.
Step 5: Pour the batter into a greased 9×13-inch baking dish.
Carefully pouring the batter into the baking dish prevents splashing and makes for a cleaner process. Greasing the dish is crucial to ensure the cobbler releases easily once baked.
Step 6: In a separate bowl, mix sugar and cocoa powder together, then sprinkle over the batter evenly.
Sprinkling the sugar and cocoa on top creates a chocolate crust as it bakes. This unique layer forms the foundation of the chocolate goo that resides at the bottom of the cobbler.
Step 7: Pour hot water over the entire dish without stirring.
This step is key; the hot water establishes the gooey chocolate layer. Pouring it over the batter ensures that the layers develop appropriately while baking.
Step 8: Bake for 30-35 minutes or until the edges are set.
Baking at the right temperature for the appropriate time is crucial for achieving the right texture. The edges should be firm while the center remains slightly gooey for the best experience.
Step 9: Let cool for a few minutes and serve warm.
Allowing the cobbler to cool slightly makes it easier to serve. The warm cobbler can be served on its own or with ice cream, allowing the warm chocolate to meld beautifully with the cold dessert.

Discovering the Magic of Chocolate Layers
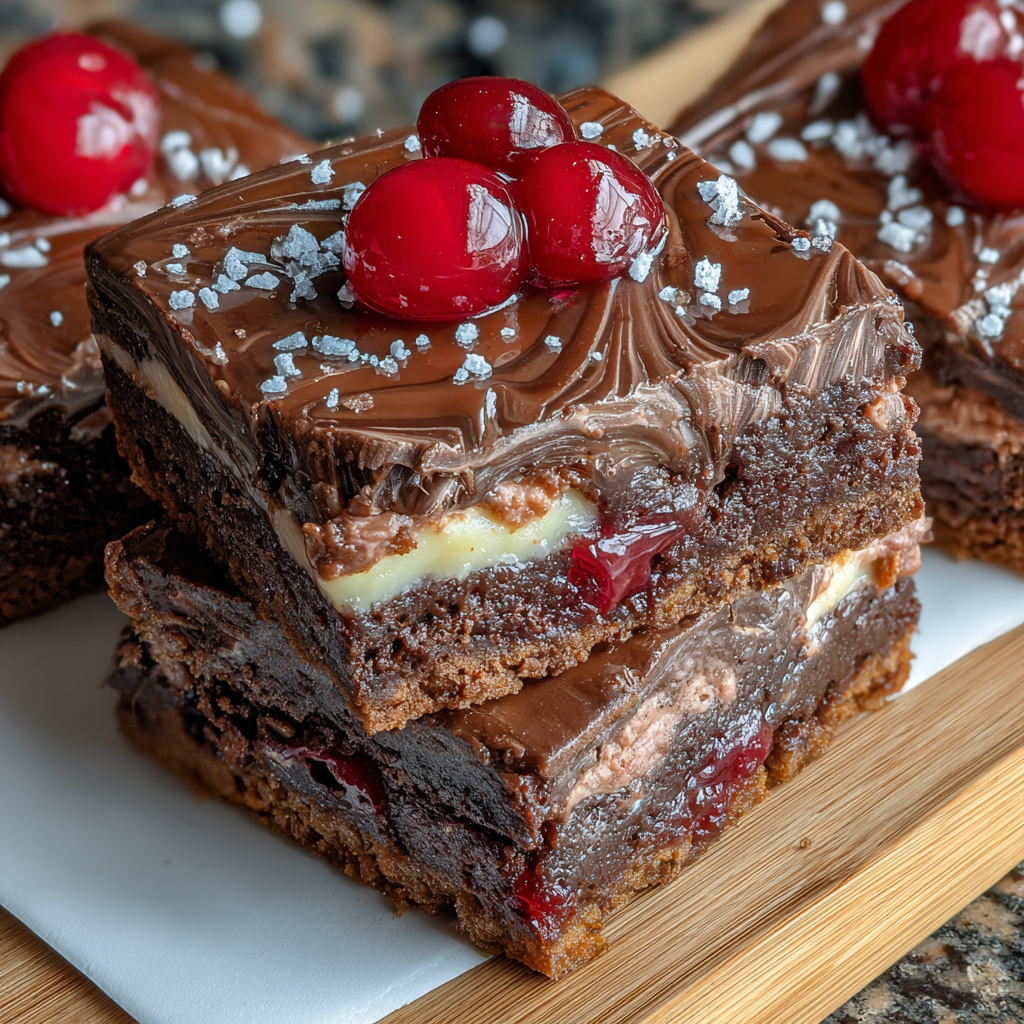
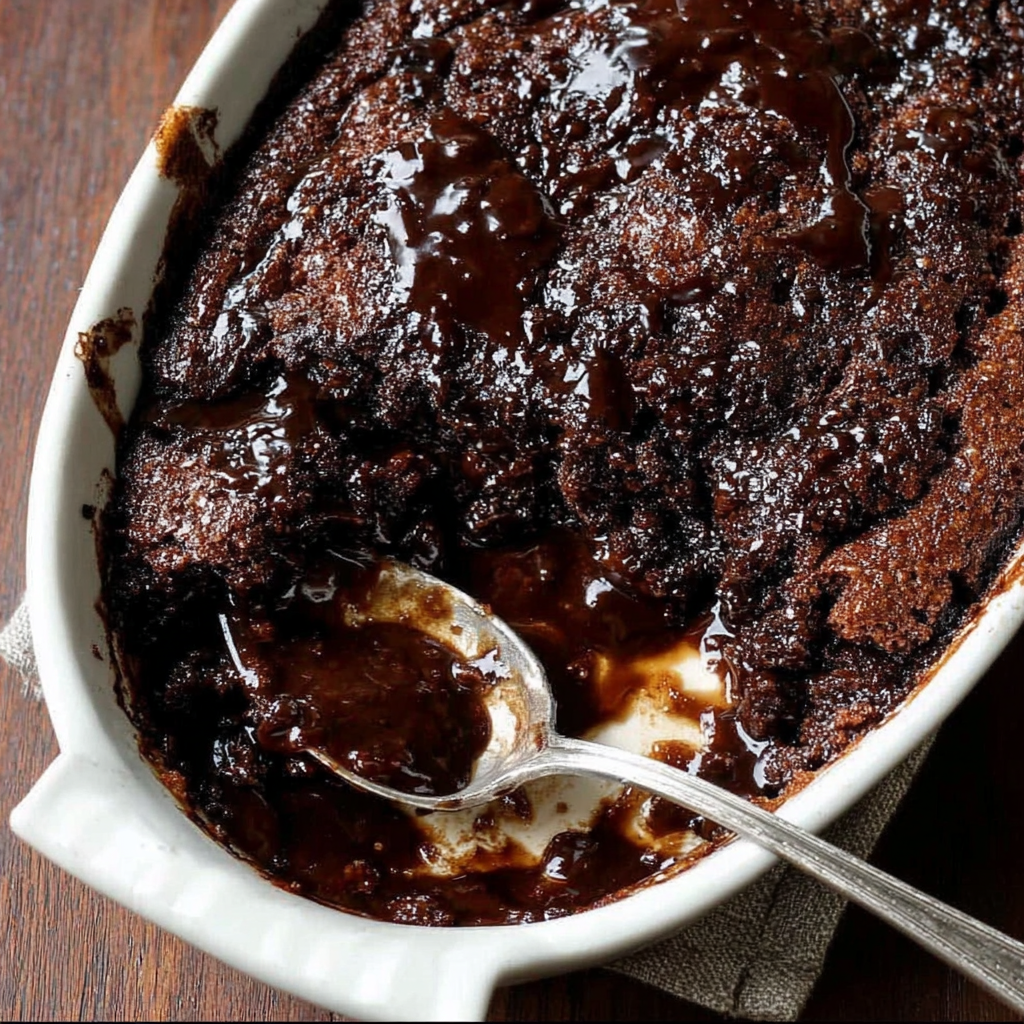
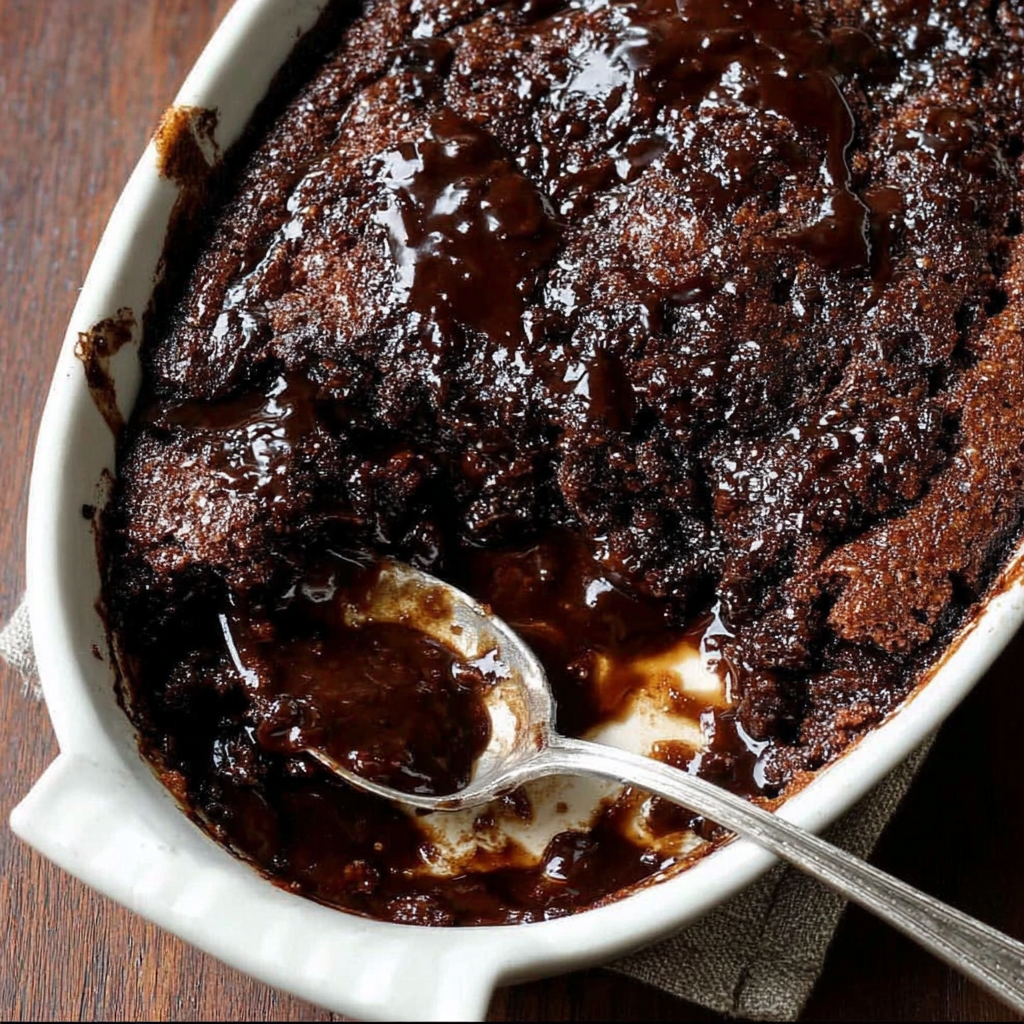
One of the standout features of chocolate cobbler is its unique layering. As it bakes, the batter settles, allowing the chocolate mixture to form a rich, gooey layer beneath a cake-like crust. This interaction creates a delightful textural contrast, enticing anyone who takes a spoonful. The sweet, dense chocolate filling makes for an indulgent experience, while the top layer remains airy and soft.
Perfect Pairings for Your Chocolate Cobbler
Chocolate cobbler shines when paired with accompaniments that enhance its delightful flavor. A scoop of vanilla ice cream complements the rich chocolate, providing a creamy contrast. Additionally, whipped cream or a sprinkle of toasted nuts adds an elegant touch. Consider serving with fresh berries to introduce a pop of tartness, highlighting the sweet depth of the cobbler.
A Dessert for Every Occasion
Whether it's a family gathering, a cozy evening, or an event with friends, chocolate cobbler is versatile. Its staying warmth creates a comforting atmosphere, making it an ideal choice for a range of occasions. By adapting the toppings—like seasonal fruits or different ice cream flavors—you can customize the cobbler to suit any celebration, ensuring it remains a crowd favorite.
FAQs
What if my chocolate cobbler is too thick?
If your cobbler turns out too thick, it may need a bit more liquid in the batter. Next time, consider adding an extra splash of milk to achieve a smoother consistency.
Why is my cobbler bland?
If your cobbler lacks flavor, it might be due to the cocoa quality or insufficient sugar. Consider using high-quality cocoa powder and adjusting the sugar level to enhance the taste.
How can I make my chocolate cobbler richer?
To boost richness, try using dark chocolate chips instead of semi-sweet ones or add a splash of coffee to the batter. Both can intensify the chocolate flavor.
Can I substitute the butter with oil?
Yes, you can replace the butter with an equal amount of vegetable oil. This will alter the flavor slightly, but it will keep the cobbler moist.
What should I do if my cobbler is overcooked?
If your cobbler is overcooked, it may dry out. Next time, be sure to check it a few minutes before the recommended baking time to ensure the right consistency.
Is there a way to adjust the sweetness?
You can lower the sugar amount or use a sugar alternative to fit your taste. Just be cautious with alternatives, as they may affect the texture.
Conclusion
Once you've tried this chocolate cobbler, it’s bound to become a favorite in your dessert rotation. The layers of flavor and texture make it a standout treat for any occasion.
Embracing simple ingredients can lead to an extraordinary dessert experience. Don’t hesitate to explore variations, and enjoy every delicious bite.
Recipe Card
Delight in Every Bite: Chocolate Cobbler Recipe
Ingredients
Method
- Preheat your oven to 350°F (175°C).
- In a large bowl, combine flour, sugar, cocoa powder, baking powder, and salt.
- Stir in the milk and melted butter until smooth.
- Fold in the chocolate chips gently.
- Pour the batter into a greased 9x13-inch baking dish.
- In a separate bowl, mix sugar and cocoa powder together, then sprinkle over the batter evenly.
- Pour hot water over the entire dish without stirring.
- Bake for 30-35 minutes or until the edges are set.
- Let cool for a few minutes and serve warm.
Notes
Additional serving suggestions: pair with a crisp salad, garlic bread, or roasted seasonal vegetables for balance.
For make-ahead, prep components separately and assemble just before heating to preserve texture.
Taste and adjust with acid (lemon/vinegar) and salt right at the end to wake up flavors.