Introduction
As the air turns crisp and the leaves begin to change color, there's nothing quite like the comforting aroma of caramel in the kitchen. Caramel apple dip offers a delightful blend of sweetness and tartness, making it the perfect treat for gatherings or a cozy night in. This dip complements the natural flavor of fresh apples, turning them into a delectable dessert that everyone will love.
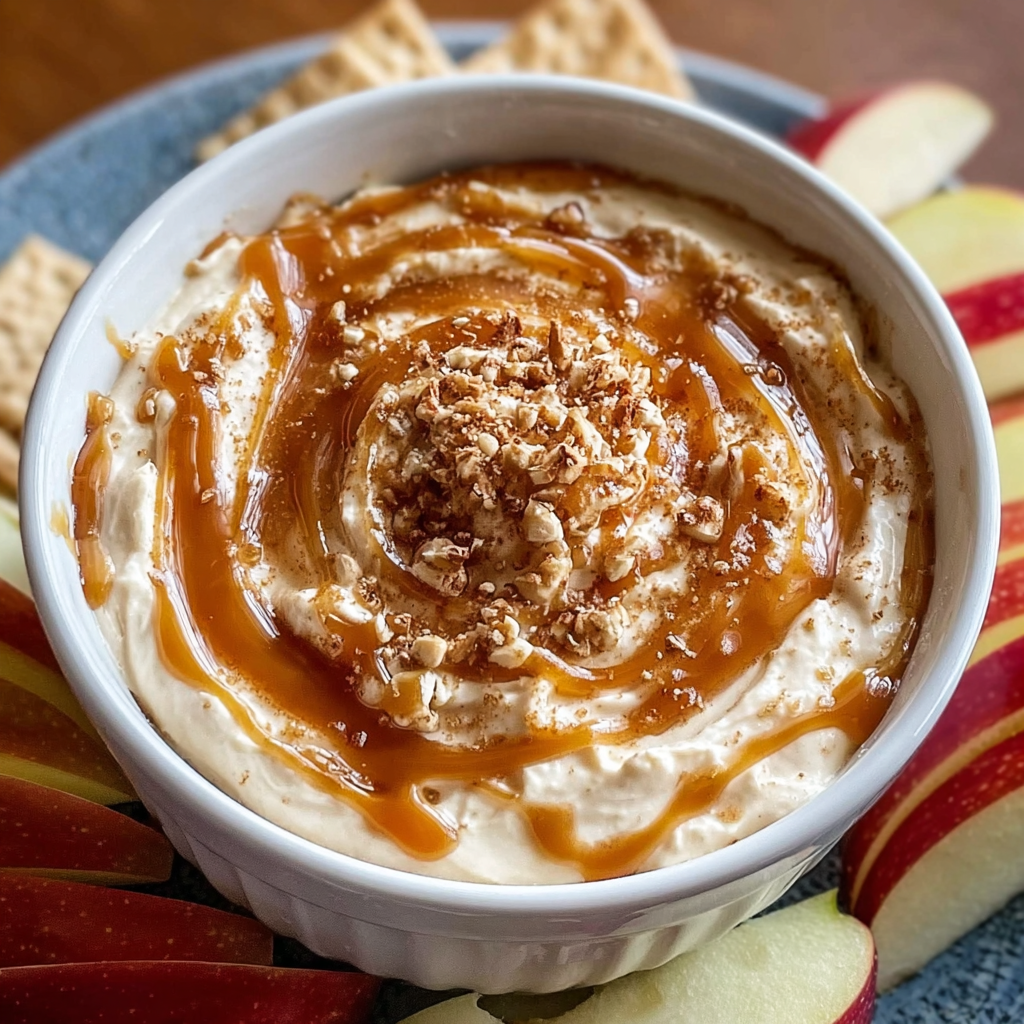
Creating a homemade caramel dip may seem daunting, but with the right ingredients and straightforward methods, it’s easier than you think. This creamy dip combines rich caramel with a hint of vanilla, making it the perfect accompaniment for crisp, juicy apple slices. Whether it’s for a fall party or a simple snack, this delightful treat is sure to impress.
Ingredients
- 2 cups granulated sugar
Granulated sugar is the foundation of your caramel. When heated, it melts and transforms into liquid gold, giving the dip its signature sweetness and rich flavor. Careful attention is needed to achieve that perfect caramel hue without burning. - 6 tablespoons unsalted butter
Butter adds creaminess and richness to the caramel. It also helps to create a smooth texture, making the dip luscious and easy to scoop. Using unsalted butter gives you better control over the dip's final flavor. - 1 cup heavy cream
Heavy cream is essential for creating a silky and indulgent caramel. It enhances the flavor profile and balances the sweetness of the sugar, helping to create a perfect dip that clings beautifully to apple slices. - 1 tablespoon vanilla extract
Vanilla extract contributes a warm, aromatic flavor that complements the sweetness of the caramel. It enhances the overall experience, adding depth to the simple ingredients and making the dip truly memorable. - 1/4 teaspoon sea salt
A pinch of sea salt elevates the sweetness of the caramel, creating that sought-after sweet-and-salty balance. This contrast not only enhances the flavors but also keeps you coming back for more with every bite. - 4 medium-sized apples
A variety of apples adds both tartness and crunch to the dish. Choose crisp apples like Granny Smith or Honeycrisp for the best results. Their freshness pairs beautifully with the rich caramel dip, creating a satisfying bite.
Directions & Preparation
Step 1: Begin by preparing your apples.
Wash and slice your apples into wedges or slices that are easy to handle. Choose firm varieties for crispness. If you’re worried about browning, you can toss them in a little lemon juice. This preparation sets the stage for enjoying the dip as each apple slice pairs perfectly with the caramel.
Step 2: In a medium saucepan, combine the sugar and water.
Add about a tablespoon of water to the sugar in the saucepan. This small amount will help the sugar melt evenly. Begin heating over medium heat, stirring only until the sugar dissolves. Once dissolved, stop stirring to prevent crystallization. This step is crucial for creating a smooth caramel without graininess.
Step 3: Cook the sugar mixture until it turns golden brown.
Watch the sugar as it cooks; it will bubble and start to change color. Swirl the pan occasionally to ensure even cooking. The goal is a deep, amber color – this indicates that the caramel is ready. Be cautious, as it can burn quickly. Timing is everything to achieve the right flavor.
Step 4: Remove from heat and carefully add the butter.
Once the sugar reaches the desired color, immediately remove the pan from the heat before adding the butter. The mixture will bubble rapidly, so add it slowly and stir continuously. This step allows the butter to melt thoroughly, completing the caramel base. It’s essential to manage the heat to avoid burning.
Step 5: Stir in the heavy cream gradually.
With the pan off the heat, slowly pour in the heavy cream while stirring. This brings the caramel to a creamy consistency. It’s important to add this gradually to manage the reaction and achieve a smooth dip without lumps. You will see the caramel transform, becoming velvety and rich.
Step 6: Incorporate the vanilla extract and salt.
Once the cream is fully integrated and the mixture is smooth, stir in the vanilla extract and sea salt. This addition not only enhances flavor but rounds out the sweetness. Take a moment to taste and adjust salt if necessary; every batch can vary slightly in flavor intensity.
Step 7: Allow the dip to cool before serving.
Letting the caramel dip cool slightly will not only make it safer to eat but also allow it to thicken to the perfect consistency for dipping. You can either serve it warm for a gooey texture or cool for a more stable dip. It pairs exceptionally well with the fresh apple slices you prepared earlier.

Seasonal Variations to Elevate Your Dip
Incorporate seasonal spices like cinnamon or nutmeg for a cozy twist on your caramel apple dip. A sprinkle of cinnamon on top or blending it into the caramel adds warmth and aligns perfectly with the fall theme. You can also experiment with adding a splash of spiced rum or bourbon for an adult version that brings a new depth to the classic treat.
The Perfect Dipping Experience
For the ultimate dip experience, consider serving your caramel alongside a variety of dippers. In addition to apple slices, think pretzels for a crunch, marshmallows for a sweet bite, or even graham crackers for a campfire-like feel. This variety invites your guests to create their own combinations, ensuring everyone leaves satisfied.
Storing and Reheating Caramel Dip
If you find yourself with leftover caramel apple dip, storing it is simple. Transfer it into an airtight container once it cools completely. To reheat, simply warm it gently on the stove or in the microwave in short bursts. Be cautious, as caramel can become too thick upon cooling; adding a splash of cream can help restore its original consistency.
FAQs
Why did my caramel turn too thick?
If your caramel is too thick, it may have cooked for too long or at too high of a temperature. Try reheating it gently while stirring in a bit of heavy cream to bring it back to a desired consistency.
What can I do if my caramel tastes bland?
If your caramel lacks flavor, a pinch more salt or a bit more vanilla extract can enhance the taste significantly. Make sure to taste as you go to adjust flavors accordingly.
Can I use brown sugar instead of granulated sugar?
Absolutely! Brown sugar will give your caramel a deeper flavor, with hints of molasses. Just keep an eye on the cooking time, as it may caramelize differently.
What if I burn my sugar mixture?
If you burn the sugar, it's best to start over, as burnt sugar cannot be salvaged. Keep a close watch during the cooking process for the best results.
Can I make this dip vegan?
To create a vegan version, substitute granulated sugar with coconut sugar, use a plant-based butter, and replace heavy cream with coconut cream or another non-dairy alternative.
How do I make the dip more silky?
If your dip isn't silky enough, ensure the cream is added gradually and at the right temperature. Blending at the end can also help create a smoother texture.
Conclusion
Caramel apple dip is a simple yet indulgent treat that brings warmth and joy to any occasion. Perfect for sharing or enjoying solo, this dip allows you to create an experience around the table. As you gather around with family and friends, this dish is sure to become a favorite.
With its delightful blend of flavors and textures, this dip can be easily customized to suit your tastes, making it a versatile addition to your recipe repertoire. So gather your ingredients, slice those apples, and enjoy this sweet, creamy delight!
Recipe Card
Indulgent Caramel Apple Dip for Fall Gatherings
Ingredients
Method
- Begin by preparing your apples.
- In a medium saucepan, combine the sugar and water.
- Cook the sugar mixture until it turns golden brown.
- Remove from heat and carefully add the butter.
- Stir in the heavy cream gradually.
- Incorporate the vanilla extract and salt.
- Allow the dip to cool before serving.
Notes
Additional serving suggestions: pair with a crisp salad, garlic bread, or roasted seasonal vegetables for balance.
For make-ahead, prep components separately and assemble just before heating to preserve texture.
Taste and adjust with acid (lemon/vinegar) and salt right at the end to wake up flavors.