Introduction
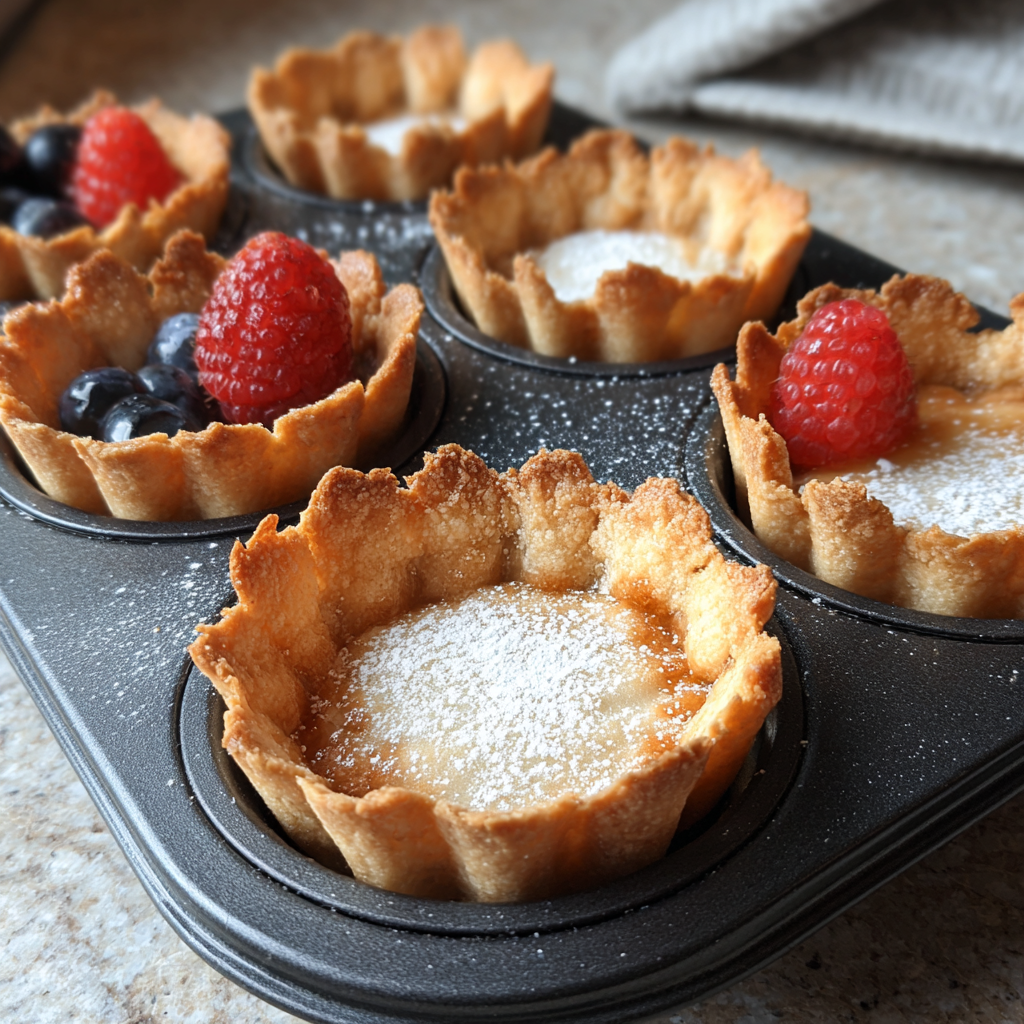
Tartlet shells serve as the perfect edible canvas for a variety of sweet and savory fillings. Their delicate structure not only holds fillings securely but also adds an appealing crunch that enhances the overall eating experience. Whether you’re hosting a dinner party or enjoying a quiet evening at home, tartlet shells can elevate your culinary repertoire.
The beauty of homemade tartlet shells lies in their simplicity and versatility. You can fill them with creamy custards, seasonal fruits, or rich savory mixtures. While ready-made options are available in stores, nothing compares to the texture and satisfying flavor of freshly baked shells, crafted from just a handful of quality ingredients.
Ingredients
- 1 ½ cups all-purpose flour
All-purpose flour provides the base for the tartlet shell, offering the necessary structure while allowing the shells to be tender yet crisp. It also absorbs moisture and creates a nice, flaky texture when combined with fat. - ½ cup unsalted butter, chilled
Chilled unsalted butter is essential for achieving a rich flavor and crispy texture. It creates layers within the dough, making the shells flaky. Using unsalted butter allows you to better control the salt content. - ¼ cup granulated sugar
Granulated sugar enhances the flavor of the tartlet shells and aids in browning during baking. The sugar balances the saltiness of the butter and contributes to a light, sweet note that complements both sweet and savory fillings. - 1 large egg
The egg acts as a binding agent, helping to bring the dough together and providing structure. It also contributes to the color of the crust, giving it a beautiful golden hue when baked. - 1 teaspoon vanilla extract
Vanilla extract adds depth and a hint of sweetness to the tartlet shells. It enhances the overall flavor, making the shells suitable for an array of desserts. - ½ teaspoon salt
Salt is crucial in balancing the flavors and enhancing the taste of the sweet components. A small amount works wonders in bringing out the sweetness from the sugar and balancing the tartness of any fillings.
Directions & Preparation
Step 1: Combine dry ingredients.
In a large mixing bowl, whisk together the all-purpose flour, sugar, and salt. This step ensures that the dry ingredients are evenly distributed before you add the butter, allowing for consistent flavor and texture in the final dough. It's also a vital step to prevent clumping of the sugar and salt.
Step 2: Cut in the butter.
Using a pastry cutter or your fingertips, cut the chilled butter into the flour mixture until it resembles coarse crumbs. This technique incorporates the fat without melting it, which is essential for creating the flaky texture of the shells. The bits of butter will create steam during baking, forming layers in the shell.
Step 3: Add egg and vanilla.
Make a well in the center of the flour-butter mixture and add the egg and vanilla extract. Mix until the dough just comes together; avoid overworking it. This step is where the shells acquire their flavor and binding properties, as the egg introduces moisture without making the dough tough.
Step 4: Chill the dough.
Shape the dough into a disk, wrap it in plastic wrap, and refrigerate for at least 30 minutes. Chilling the dough allows the gluten to relax, which helps in rolling it out evenly. It also keeps the butter cold, contributing to the flakiness of the crust.
Step 5: Preheat the oven.
Preheat your oven to 375°F (190°C). A properly preheated oven ensures that the tartlet shells bake evenly and develop a lovely golden color. This is an important step that shouldn’t be skipped to achieve the best texture.
Step 6: Roll out the dough.
On a floured surface, roll out the chilled dough to about 1/8-inch thickness. This thickness is ideal for maintaining strength while keeping the shells delicate. Flour the surface and rolling pin as necessary to prevent sticking, ensuring you have a smooth, even roll.
Step 7: Cut and fit into tartlet pans.
Cut the rolled dough into circles large enough to fit your tartlet pans. Press the dough into the pans, ensuring that there are no air bubbles. This step shapes the shells, giving them nice edges and ensuring they hold their shape during baking.
Step 8: Prick the bottoms.
Use a fork to prick the bottoms of the shells. This prevents the dough from puffing up while baking. Pricking creates vents for steam to escape, allowing the shells to bake evenly and maintain their crisp texture.
Step 9: Blind bake the shells.
Line the shells with parchment paper and fill them with pie weights or dry beans. Bake for about 15 minutes, then remove the weights and parchment to bake for an additional 5-7 minutes until lightly golden. Blind baking ensures that the shells do not become soggy once filled.
Step 10: Cool before filling.
Remove the baked tartlet shells from the oven and allow them to cool completely in the pans. This step is crucial as filling warm shells can cause the filling to melt or become overly runny, compromising the overall presentation and texture of your tartlets.

Tartlet Shell Variations
While the classic tartlet shell recipe is versatile, you can also experiment with different flavors. Consider incorporating cocoa powder for a chocolate version or adding herbs like thyme for savory applications. Each variation will bring a new dimension to your tartlets, allowing them to stand out as unique culinary creations.
Tips for Perfect Tartlets
For consistent results, ensure your butter is appropriately chilled before cutting it into the flour. If you find the dough too sticky while rolling, sprinkle a bit more flour on the surface as needed. Moreover, always bake the shells until golden brown; underbaked shells may lead to a soggy bottom when filled.
Serving Suggestions
Once your tartlet shells are baked and cooled, the possibilities are endless. Fill them with rich chocolate ganache, fresh berries and cream, or savory mixtures like goat cheese and roasted vegetables. Each filling brings its character, transforming the simple shell into the star of the table.
FAQs
What can I do if the dough is too crumbly?
If the dough appears too crumbly and isn’t holding together, try adding a teaspoon of cold water gradually until it comes together. Be cautious, as too much moisture can make the crust tough.
Why did my tartlet shells shrink during baking?
Tartlet shells may shrink if the dough is overworked or not chilled sufficiently before baking. Ensure you chill the dough properly and roll it out gently to prevent shrinkage.
Can I use a different type of flour for this recipe?
Yes, you can experiment with different flours like whole wheat or almond flour, but the texture and structure may vary. Adjust the moisture accordingly if using a gluten-free option.
How do I know when the tart shell is done baking?
The tart shell is done when it turns golden brown on the edges and slightly firm to the touch. The color change indicates that the crust is cooked through and ready for filling.
What if I fill the shells too early?
If you fill the shells while they are still warm, the filling may melt or become runny. Always ensure the baked shells are completely cooled before adding your choice of filling.
Can I make mini tartlet shells using this recipe?
Absolutely! You can use a mini muffin tin to create bite-sized tartlet shells. Just adjust the baking time to about 10-12 minutes, keeping an eye on them to prevent overbaking.
Conclusion
Homemade tartlet shells are a delightful addition to any kitchen, offering endless possibilities for creativity. Armed with this simple recipe, you can embark on a journey of flavors—from sweet to savory—that will impress your family and friends alike.
With practice, making tartlet shells becomes an enjoyable experience, allowing you to craft beautiful, treat-worthy bites. So gather your ingredients, channel your inner chef, and enjoy the art of tartlet-making!
Recipe Card

Creating Exquisite Tartlet Shells at Home
Ingredients
Method
- Combine dry ingredients.
- Cut in the butter.
- Add egg and vanilla.
- Chill the dough.
- Preheat the oven.
- Roll out the dough.
- Cut and fit into tartlet pans.
- Prick the bottoms.
- Blind bake the shells.
- Cool before filling.
Notes
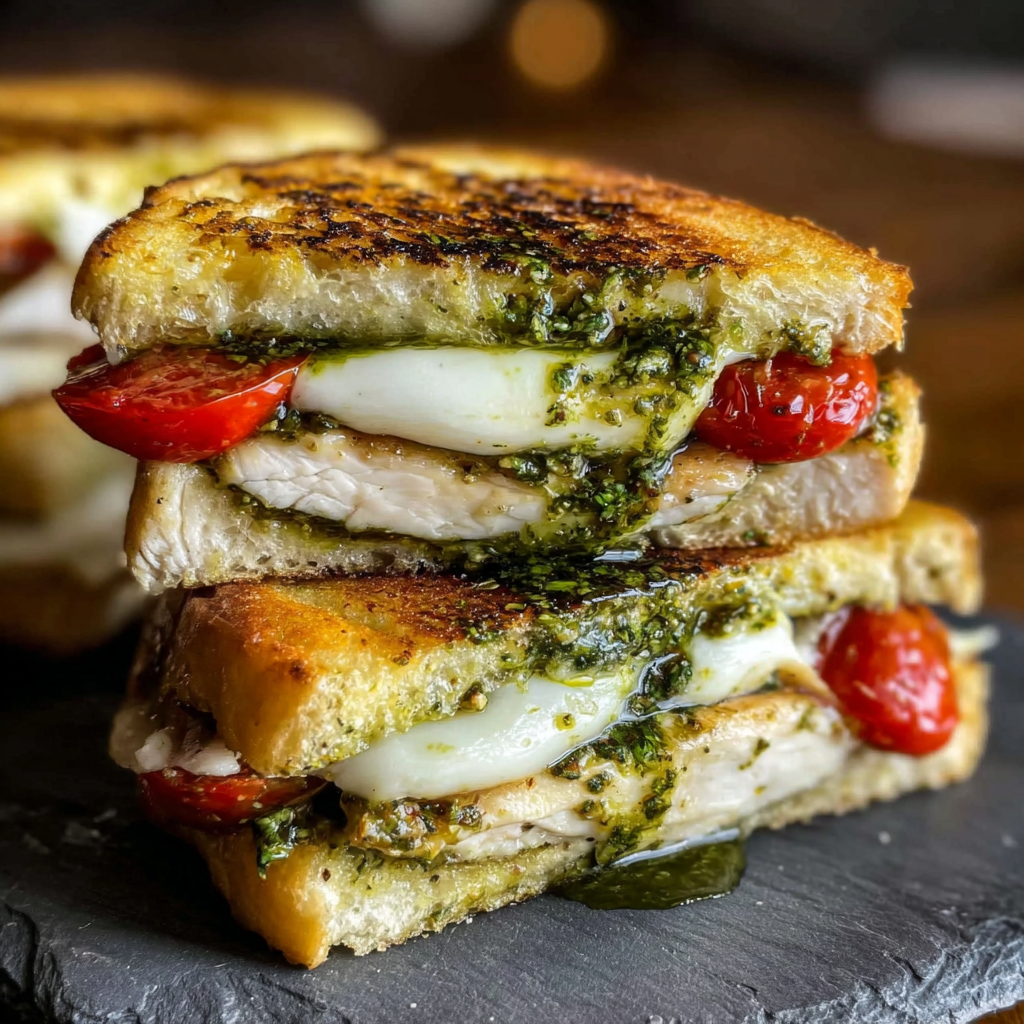
Additional serving suggestions: pair with a crisp salad, garlic bread, or roasted seasonal vegetables for balance.
For make-ahead, prep components separately and assemble just before heating to preserve texture.
Taste and adjust with acid (lemon/vinegar) and salt right at the end to wake up flavors.