Introduction
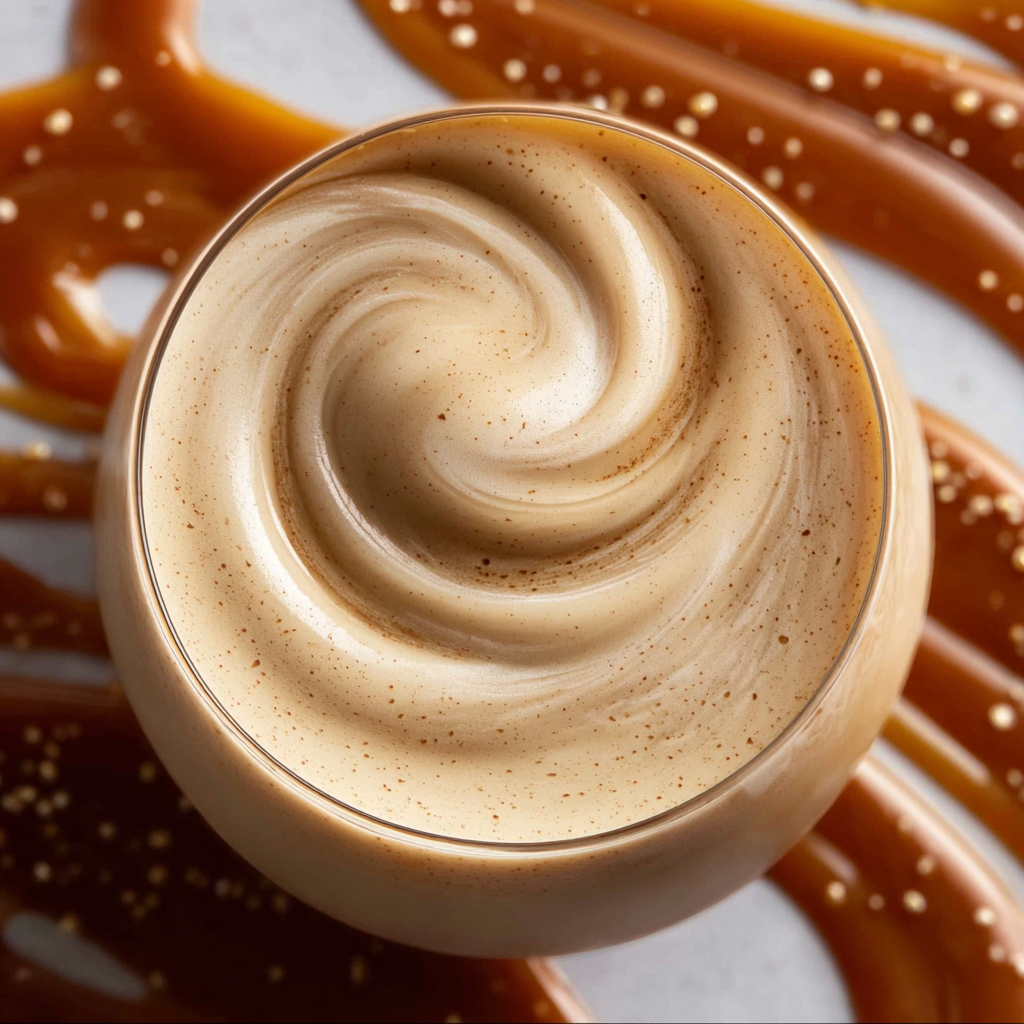
There's something incredibly satisfying about crafting your own coffee creamer at home. This salted caramel coffee creamer recipe takes your morning cup to a whole new level, blending the rich, buttery flavor of caramel with a hint of salt that enhances the sweetness. The best part? You can adjust the flavors to your liking, making your daily coffee ritual a personalized experience.
Homemade creamers are also a great way to ditch the additives and preservatives found in store-bought varieties. With a few simple ingredients, you can create a luscious, creamy addition to your coffee that elevates its taste. This recipe is perfect for coffee lovers looking to enjoy a delightful treat without any complications.
Ingredients
- 1 cup heavy cream
Heavy cream forms the base of your creamer, providing a rich and luxurious texture. Its high fat content ensures that your coffee stays creamy without diluting the flavor, making each sip feel indulgent. - 1 cup whole milk
Whole milk balances the richness of the cream, adding a touch of lightness. It helps to create a smooth consistency while contributing to the flavor profile without overpowering the creamy essence. - 1 cup granulated sugar
Sugar is essential for creating the caramel base of your creamer. As it melts and caramelizes, it develops complex flavors that transform a simple mix into an exquisite salted caramel experience. - 1/2 teaspoon sea salt
Sea salt enhances the sweetness of the caramel, providing a delightful contrast. The salt not only elevates the overall flavor but also rounds out the sweetness for a perfectly balanced finish. - 1 teaspoon vanilla extract
Vanilla extract adds depth and warmth to the creamer. Its aromatic qualities complement the caramel, providing a soothing and inviting scent that makes your morning coffee feel special.
Directions & Preparation
Step 1: In a saucepan, combine sugar and water.
Start your creamer by combining sugar and water in a medium saucepan over medium heat. The sugar will dissolve and eventually begin to cook down into a syrup. Stir the mixture gently until you see the sugar dissolve completely, setting the stage for the caramelization process.
Step 2: Cook the sugar until it turns amber.
Continue to cook the sugar without stirring, allowing it to bubble until it turns a deep amber color. This usually takes around 8-10 minutes. Keep a close eye on the color, as it can quickly shift from perfect caramel to burnt. The transformation is crucial, as this caramel will define the flavor of your creamer.
Step 3: Slowly add cream and milk to the caramel.
Once your caramel reaches that beautiful amber hue, carefully remove it from heat and slowly whisk in the heavy cream and whole milk. The mixture will bubble vigorously, so proceed with caution. This step's importance lies in creating a smooth and creamy texture that melds the flavors together.
Step 4: Add salt and vanilla extract.
Stir in the sea salt and vanilla extract until fully incorporated. This step enhances the complexity of your creamer, as the salt plays off the sweetness while the vanilla adds aromatic depth, resulting in a well-rounded flavor profile.
Step 5: Let the mixture cool before transferring.
Allow the creamer to cool to room temperature before transferring it to a clean jar or bottle. Cooling is essential for texture—putting it into a container while still hot can cause condensation and affect the quality. Once cooled, it’s ready to elevate your coffee experience.
Step 6: Store in the refrigerator.
Finally, store your salted caramel coffee creamer in the refrigerator. It will keep for about two weeks. Having this delicious creamer on hand means you can enjoy gourmet coffee at home whenever the craving strikes, making mornings just a bit sweeter.

Exploring Flavor Variations
One of the beautiful aspects of this salted caramel coffee creamer is its versatility. You can experiment with different flavors to create your signature mix. Consider adding a dash of cinnamon for warmth or even a hint of espresso powder for a coffee-forward twist. The addition of flavored extracts, like almond or hazelnut, can also transform the profile, keeping your mornings fresh and exciting.
The Science of Caramelization
Understanding the caramelization process can help you perfect this recipe. Sugar melts and breaks down when heated, developing rich flavors and colors. The gradual change from clear syrup to deep amber is critical, as different stages yield varying flavor profiles. Knowing this can help mitigate overcooking or burning, ensuring a delightful caramel flavor in your creamer.
Adjusting Sweetness to Taste
Sweetness preference can vary greatly among individuals, and this salted caramel coffee creamer is no exception. If you enjoy a less sweet creamer, consider reducing the amount of sugar. Start with three-quarters of a cup and adjust from there. Tasting the mixture as you go allows you to find that perfect balance that satisfies your palate without becoming overly sweet.
FAQs
What if my caramel is too thick?
If your caramel ends up too thick, it may have been cooked too long. You can adjust its consistency by whisking in a bit of additional cream or milk until it reaches the desired pourable texture.
Can I use sugar substitutes in this recipe?
Yes, you can use sugar substitutes like brown sugar or coconut sugar. However, keep in mind that these may slightly alter the flavor and consistency, so adjustments may be necessary to achieve the desired caramel profile.
Why does my creamer have a grainy texture?
A grainy texture may occur if the sugar didn't dissolve completely or if it's been cooked too long. Ensure you fully dissolve the sugar before cooking and watch the caramel closely to avoid burning.
Can I infuse the creamer with other flavors?
Absolutely! You can add spices like nutmeg or ginger while heating to develop unique flavors. Just remember to strain the creamer before storing to remove any solid pieces.
Is it okay to leave the creamer out for a while?
It’s best to keep the creamer refrigerated for freshness. Leaving it out for longer than two hours can increase the risk of spoilage, so always refrigerate any remaining creamer promptly.
Can I adjust the saltiness level?
Certainly! If you prefer a less salty kick, reduce the sea salt to 1/4 teaspoon and taste before adding more. It's always easier to add than to remove.
What should I do if I burned my caramel?
If your caramel burns, it’s best to start over, as burnt sugar cannot be salvaged. Brown sugar and water mixture can also be used to create a different caramel flavor if you want to avoid waste.
Conclusion
Creating your own salted caramel coffee creamer doesn't just enhance your coffee experience but also allows for personalization in every cup. From sweetness adjustments to flavor variations, the possibilities are endless and may transform your mornings.
So gather your ingredients and enjoy the pleasure of crafting this delicious treat from scratch. With just a little effort, you can elevate every coffee moment to something memorable.
Recipe Card

Ingredients
Method
- In a saucepan, combine sugar and water.
- Cook the sugar until it turns amber.
- Slowly add cream and milk to the caramel.
- Add salt and vanilla extract.
- Let the mixture cool before transferring.
- Store in the refrigerator.
Notes
Additional serving suggestions: pair with a crisp salad, garlic bread, or roasted seasonal vegetables for balance.
For make-ahead, prep components separately and assemble just before heating to preserve texture.
Taste and adjust with acid (lemon/vinegar) and salt right at the end to wake up flavors.