Introduction
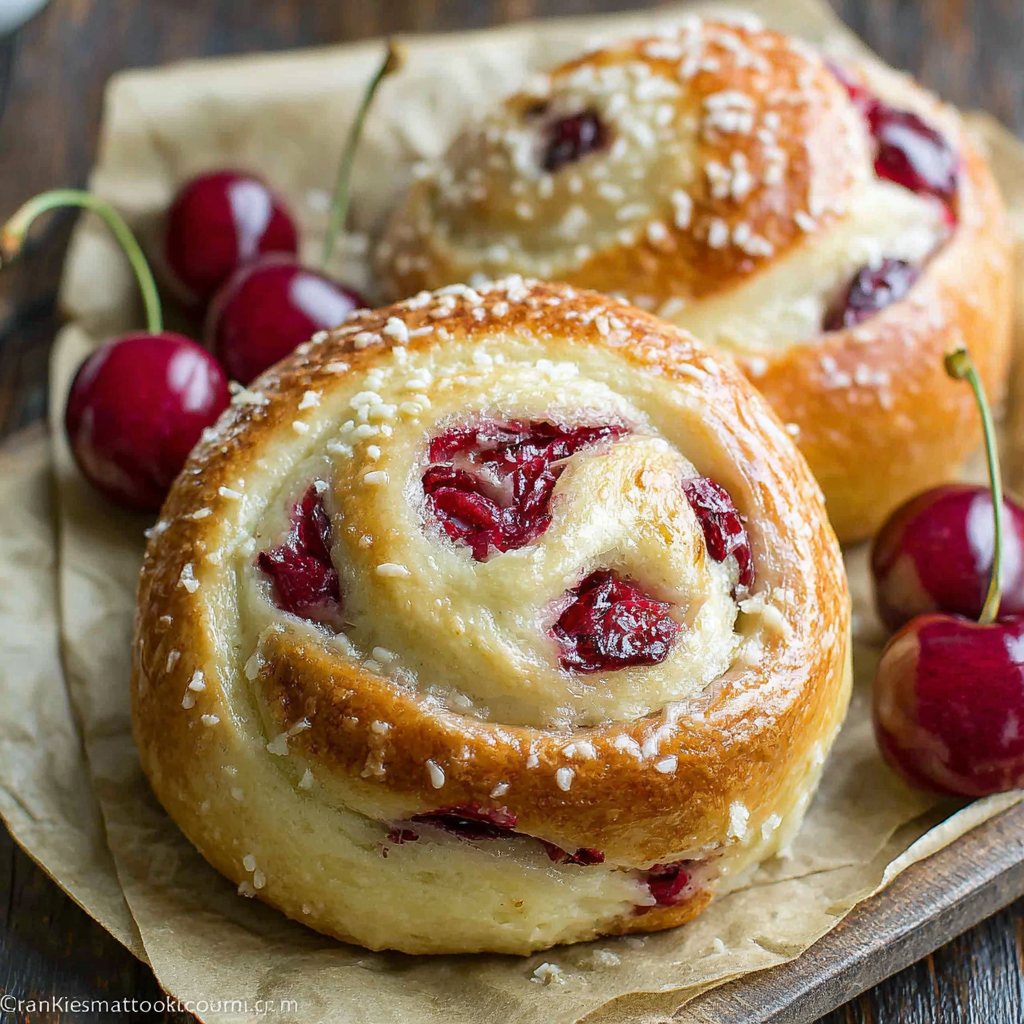
Sweet cherry filled buns are not only a delightful treat but also an embodiment of comfort baking. The soft, pillowy bread embraces a luscious cherry filling that bursts with flavor, creating a memorable experience with every bite.
These buns are perfect for a family gathering, an afternoon snack, or even as a charming addition to your brunch table. Homemade sweets carry a warmth that store-bought versions can't replicate, and these cherry buns are no exception.
Ingredients
- 3 ¼ cups all-purpose flour
The foundation of your buns, all-purpose flour provides the necessary structure and stretch to create a soft, fluffy texture. - 2 tsp instant yeast
Yeast is the leavening agent that makes your dough rise, ensuring the buns are light and airy. Instant yeast dissolves quickly and works efficiently. - ½ cup granulated sugar
Sugar not only adds sweetness but also helps activate the yeast and contributes to the overall browning of the buns as they bake. - 1 tsp salt
Salt enhances flavor and helps control the fermentation process of the dough, balancing the sweetness from the sugar. - ½ cup milk
Milk provides moisture and richness to the dough, helping create a tender crumb. Warmed milk also helps activate the yeast. - ¼ cup unsalted butter
Butter adds flavor and richness while also contributing to the dough’s tenderness. It creates a soft texture essential for soft bread. - 1 large egg
An egg adds richness and moisture. It also helps with the binding of ingredients and provides structure to the bun. - 2 cups fresh or frozen cherries
Cherries serve as the star filling, imparting a sweet and tangy flavor that contrasts beautifully with the soft dough. - 2 tbsp cornstarch
Cornstarch thickens the cherry filling, preventing it from becoming too runny during baking. It helps create that perfect jammy consistency. - 1 tbsp lemon juice
Lemon juice brightens the flavor of the cherries, balancing their sweetness and enhancing the overall taste of the filling.
Directions & Preparation
Step 1: Prepare the dough
Begin by mixing the flour, yeast, sugar, and salt in a bowl. Adding these dry ingredients first allows the yeast to start working without the interference of salt. Warm the milk and melt the butter, then combine with the dry ingredients and egg. This step is crucial for developing the dough's texture.
Step 2: Knead until smooth
Transfer the mixed dough to a floured surface and knead vigorously for about 10 minutes. This process develops gluten, which gives your buns structure and chewiness. A well-kneaded dough should be smooth and elastic, feeling slightly tacky but not overly sticky.
Step 3: First rise
Place the kneaded dough in a greased bowl, cover it with a clean kitchen towel, and let it rise in a warm place for about 1 hour or until doubled in size. This crucial rising period allows the yeast to ferment and expand, ensuring light, fluffy buns.
Step 4: Make the cherry filling
While the dough rises, prepare the filling by combining cherries, cornstarch, and lemon juice in a small saucepan over medium heat. Cook until the mixture thickens and becomes syrupy. This step prepares the cherry filling, ensuring it has the right consistency when baked.
Step 5: Shape the buns
Once the dough has risen, punch it down to release the air, then divide it into equal pieces. Roll each piece into a circle, add a spoonful of the cherry filling, and pinch the edges to seal. Properly sealing the filling is essential to prevent leakage during baking.
Step 6: Second rise
Arrange the shaped buns on a baking tray lined with parchment paper, spacing them apart. Cover and let rise again for about 30 minutes. This second rise allows the flavors to develop further and results in lighter buns.
Step 7: Bake
Preheat your oven to 350°F (175°C). Once the buns have risen, bake them for 20-25 minutes or until golden brown. The baking time is vital; underbaking can leave the dough raw, while overbaking can dry them out.
Step 8: Cool and serve
After baking, let the buns cool on a wire rack. This not only prevents sogginess but also helps them set. Serve warm or room temperature, and enjoy the delightful cherry filling alongside the soft bun.

The Joy of Homemade Buns
Baking at home can be a rewarding experience, allowing you to bring warmth and comfort to your loved ones. Handmade sweet cherry filled buns offer both the aroma and taste that make any kitchen feel like home. The process of mixing, kneading, and finally enjoying the fruits of your labor is unparalleled.
Cherry Filling Variations
While this recipe focuses on sweet cherries, don’t hesitate to experiment with other fruits! Incorporating raspberries or blueberries creates unique flavor profiles that can easily be adapted. Simply adjust the sugar and cornstarch based on the fruit’s natural sweetness and juiciness.
Baking as a Bonding Experience
Baking sweet cherry filled buns is a wonderful opportunity for family bonding. Gather friends or loved ones in the kitchen, assign tasks, and enjoy the process of creating together. Sharing the final product fosters a sense of community and accomplishment that goes beyond just the buns.
FAQs
What can I do if the cherry filling is too thick?
If your filling has thickened too much, you can add a tablespoon of water and briefly heat it while stirring to loosen it up.
How do I make the dough softer?
If your dough is tough, ensure you knead it long enough to develop gluten and avoid over-flouring the surface when shaping, which can toughen the final product.
Can I use canned cherries for the filling?
Yes, canned cherries work well. Just ensure to drain them thoroughly and adjust sugar content based on their sweetness.
What should I do if the dough doesn't rise?
Check the expiration date of your yeast, and make sure your liquids are warm but not too hot, as excessive heat can kill the yeast.
Can I add spices to the buns?
Absolutely! Consider adding cinnamon or almond extract to the dough for an elevated flavor profile.
How can I adapt this recipe for a smaller batch?
To make fewer buns, reduce all ingredients proportionally. For example, halve the quantities and bake for a shorter time.
Conclusion
These sweet cherry filled buns are perfect for any occasion, from casual family gatherings to festive brunches. Their delightful balance of soft bread and tart fruit filling is bound to impress any guest.
So roll up your sleeves, gather your ingredients, and enjoy the simple yet fulfilling process of baking. With a little patience, you’ll create a batch of buns that are sure to make mouthwatering memories.
Recipe Card

Delicious Sweet Cherry Filled Buns for Every Occasion
Ingredients
Method
- Prepare the dough
- Knead until smooth
- First rise
- Make the cherry filling
- Shape the buns
- Second rise
- Bake
- Cool and serve
Notes
Additional serving suggestions: pair with a crisp salad, garlic bread, or roasted seasonal vegetables for balance.
For make-ahead, prep components separately and assemble just before heating to preserve texture.
Taste and adjust with acid (lemon/vinegar) and salt right at the end to wake up flavors.